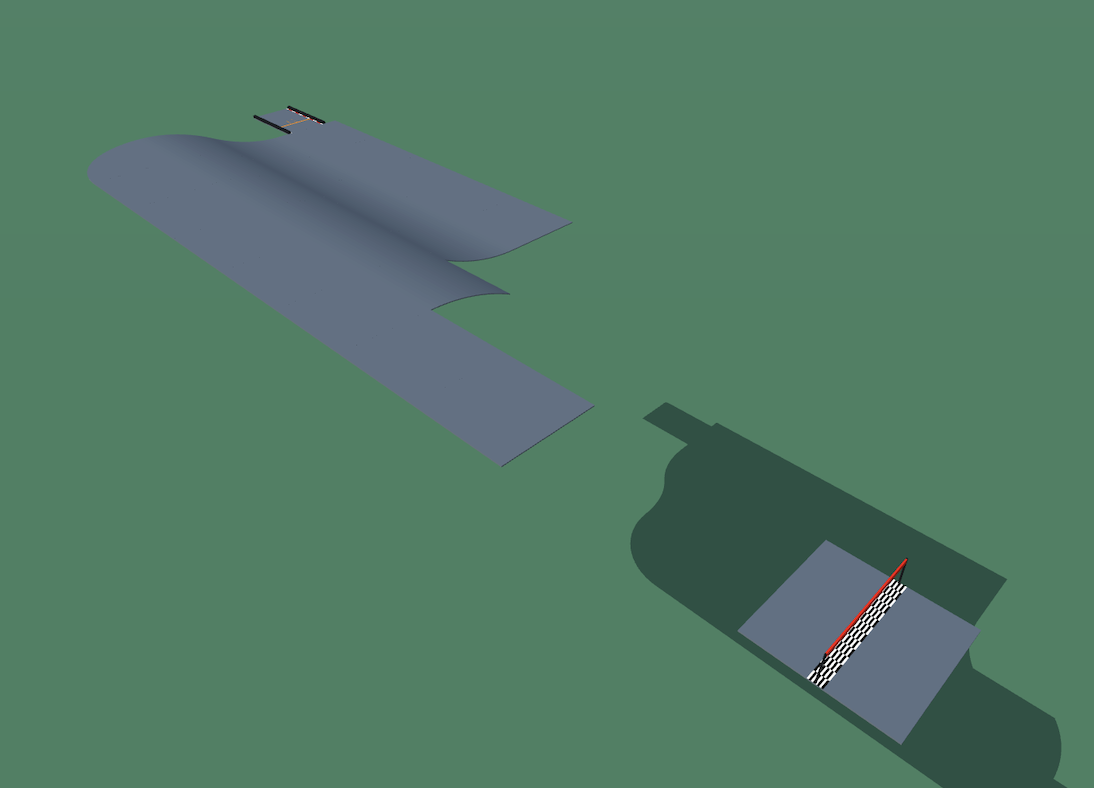
Community Track #203: Braincell
u/Beneficial_Pie_7519
March 17, 2026
13 uses
+4 this week
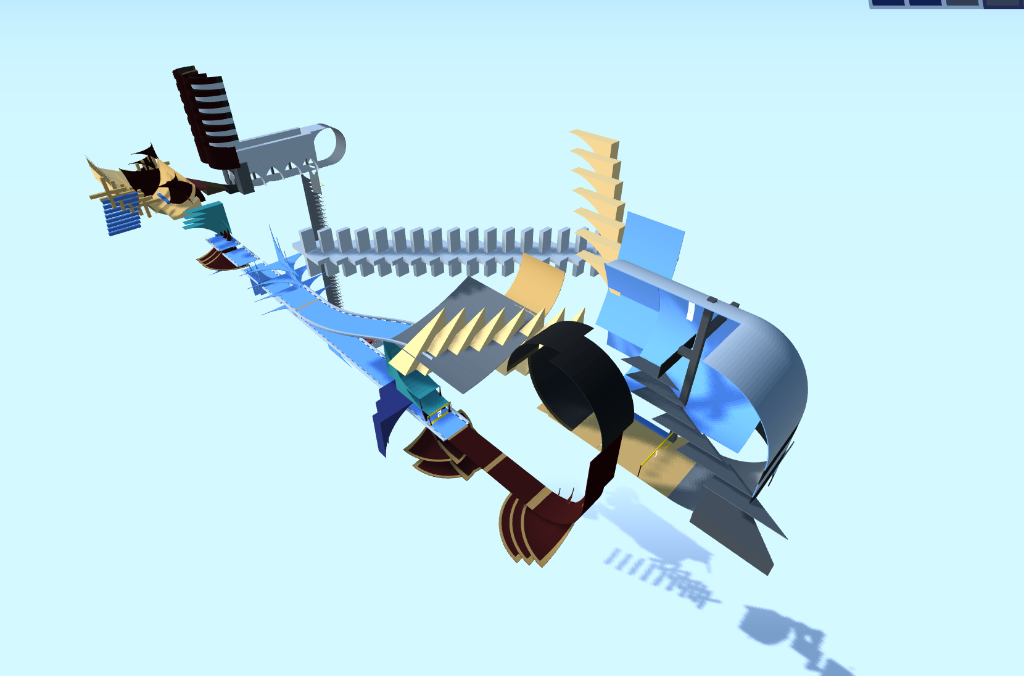
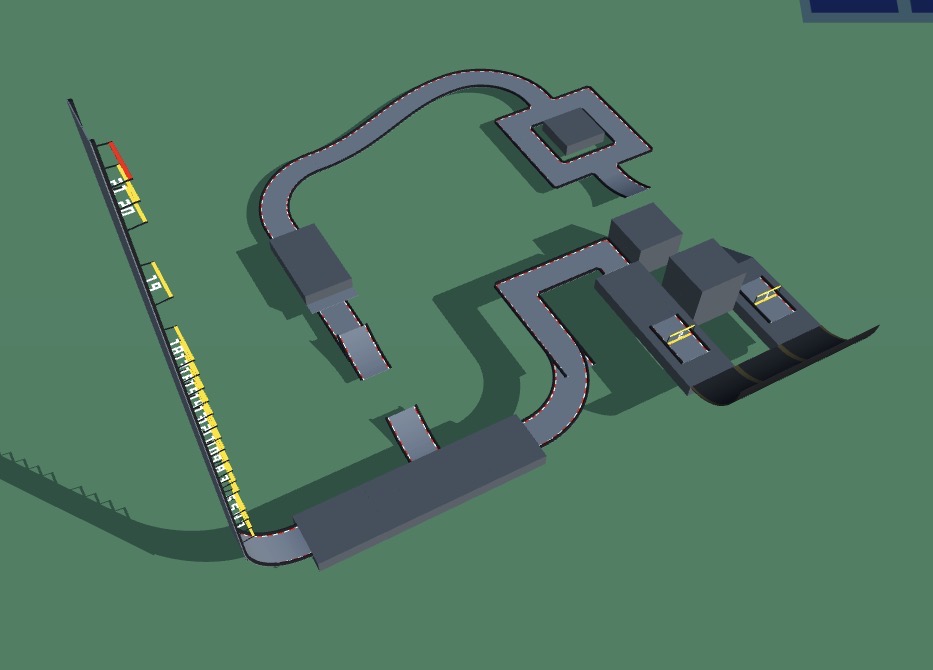
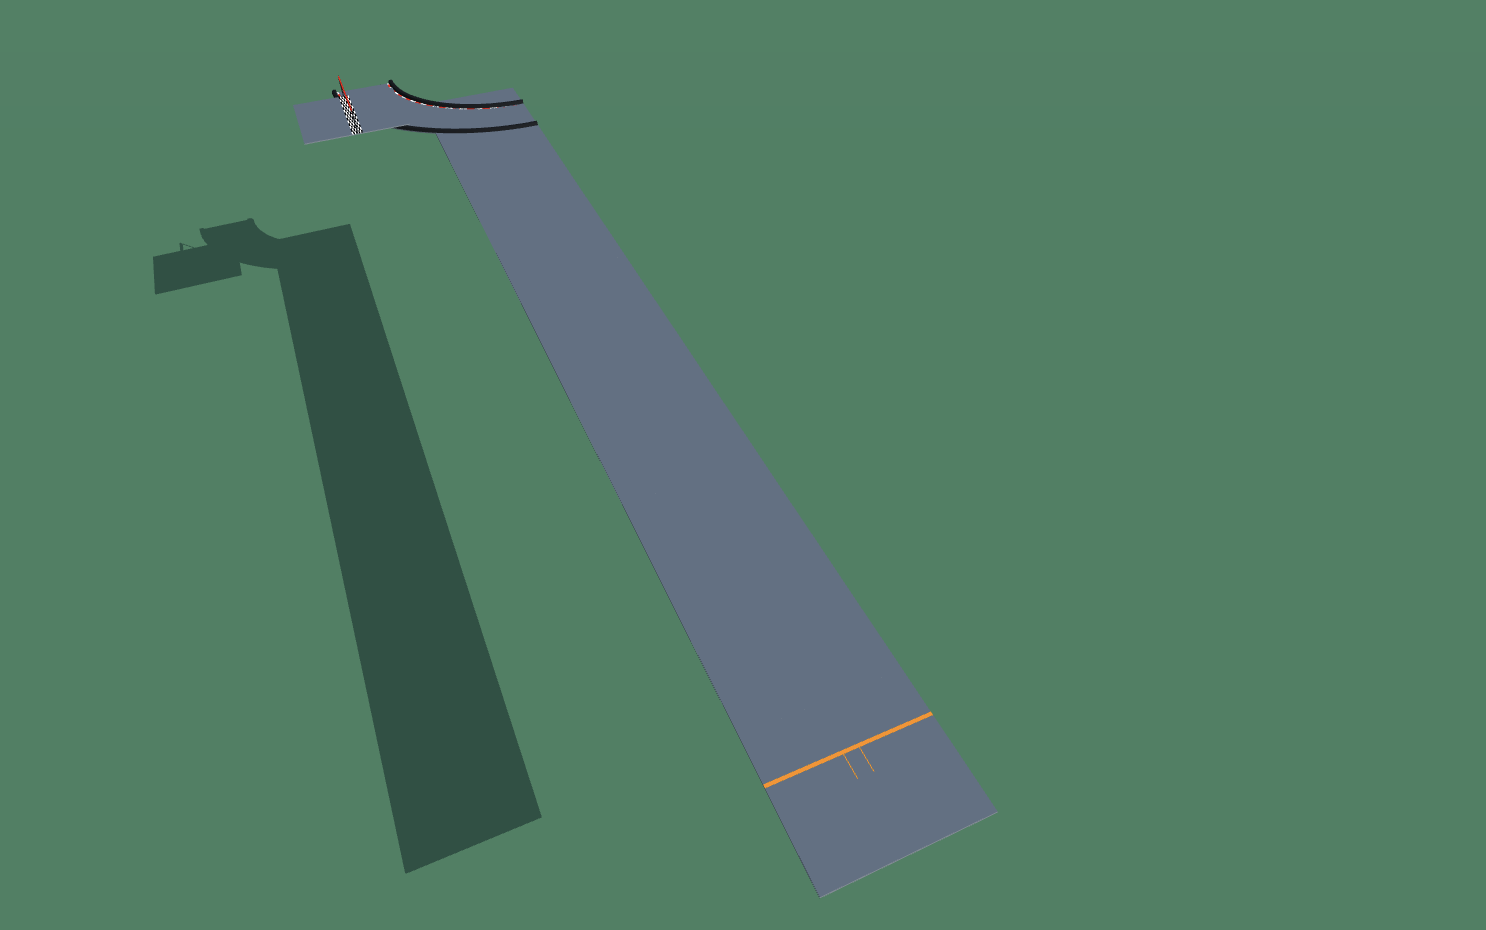
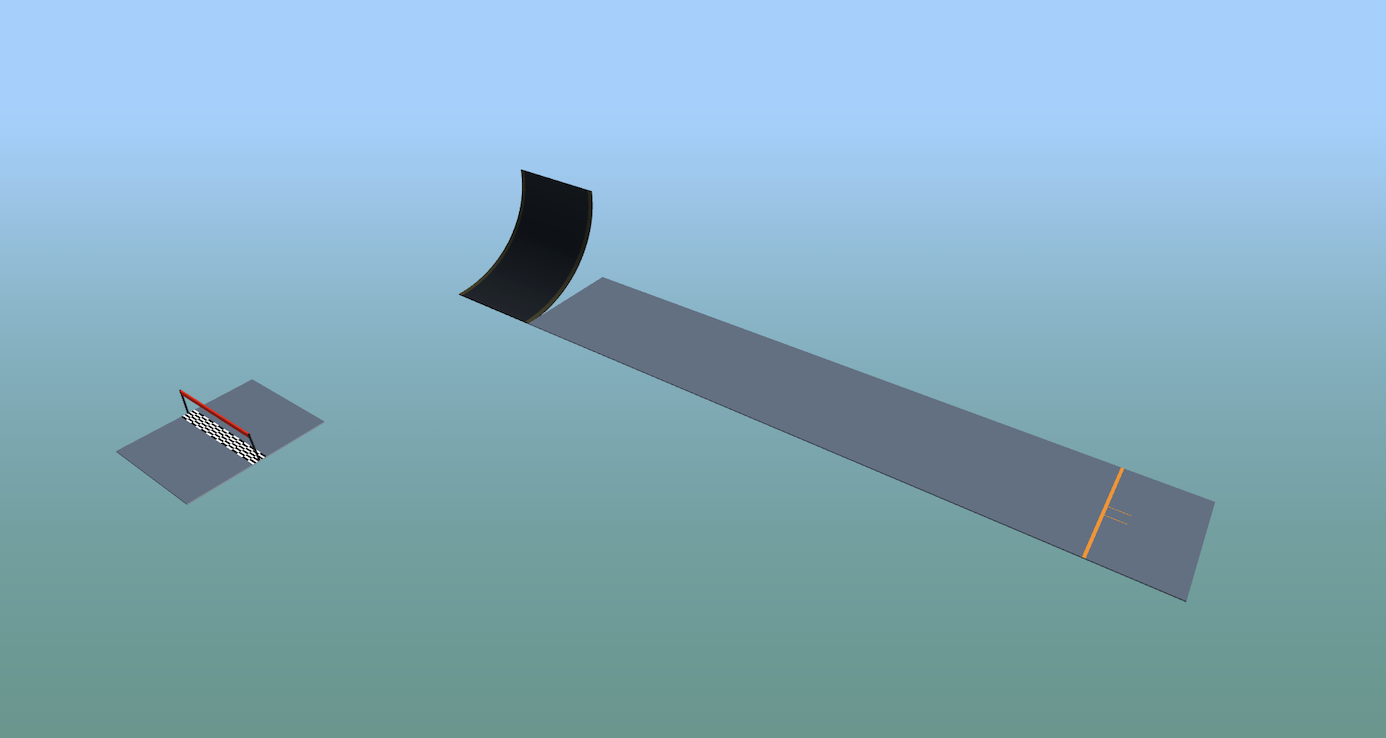
When stoncogány drops a track with the Reddit title "this track tickles your full focus. Don't believe me? Try it." — you buckle up. u/Beneficial Pie 7519, returning architect of the infamous "vertical challenge" (#198) and the vertical nightmare "rohadjak ketté" (#199), has delivered yet another monument to controlled insanity. And this time, the chaos isn't vertical — it's dimensional .
CategoryStunt
DifficultyHard
Creatoru/Beneficial_Pie_7519
AddedMar 2026
Views13
7d Uses+4
Copy Rate100%
Track Code
How to Use This Code
- Click the "COPY CODE" button above
- Open PolyTrack in your browser
- Go to Track Editor → Import
- Paste the code and click Load
- Start Game
Content & Review Notes
Tracks on PolyTrackCodes come from community submissions and public community sources. We remove obvious spam and broken entries when reported.
Player Comments
Share driving tips, route notes, or feedback for this track.
Reviewed before publishing
Sign in to join the discussion for this track.
No published comments yet.
You Might Also Like
Hard
The broken road
Elixir
42
Uses
42
7d
+42
Rate
88%
Expert
Jump...? 3
SpeedyCitrus
29
Uses
29
7d
+29
Rate
81%
Impossible
Jump...? 2
SpeedyCitrus
25
Uses
25
7d
+25
Rate
81%
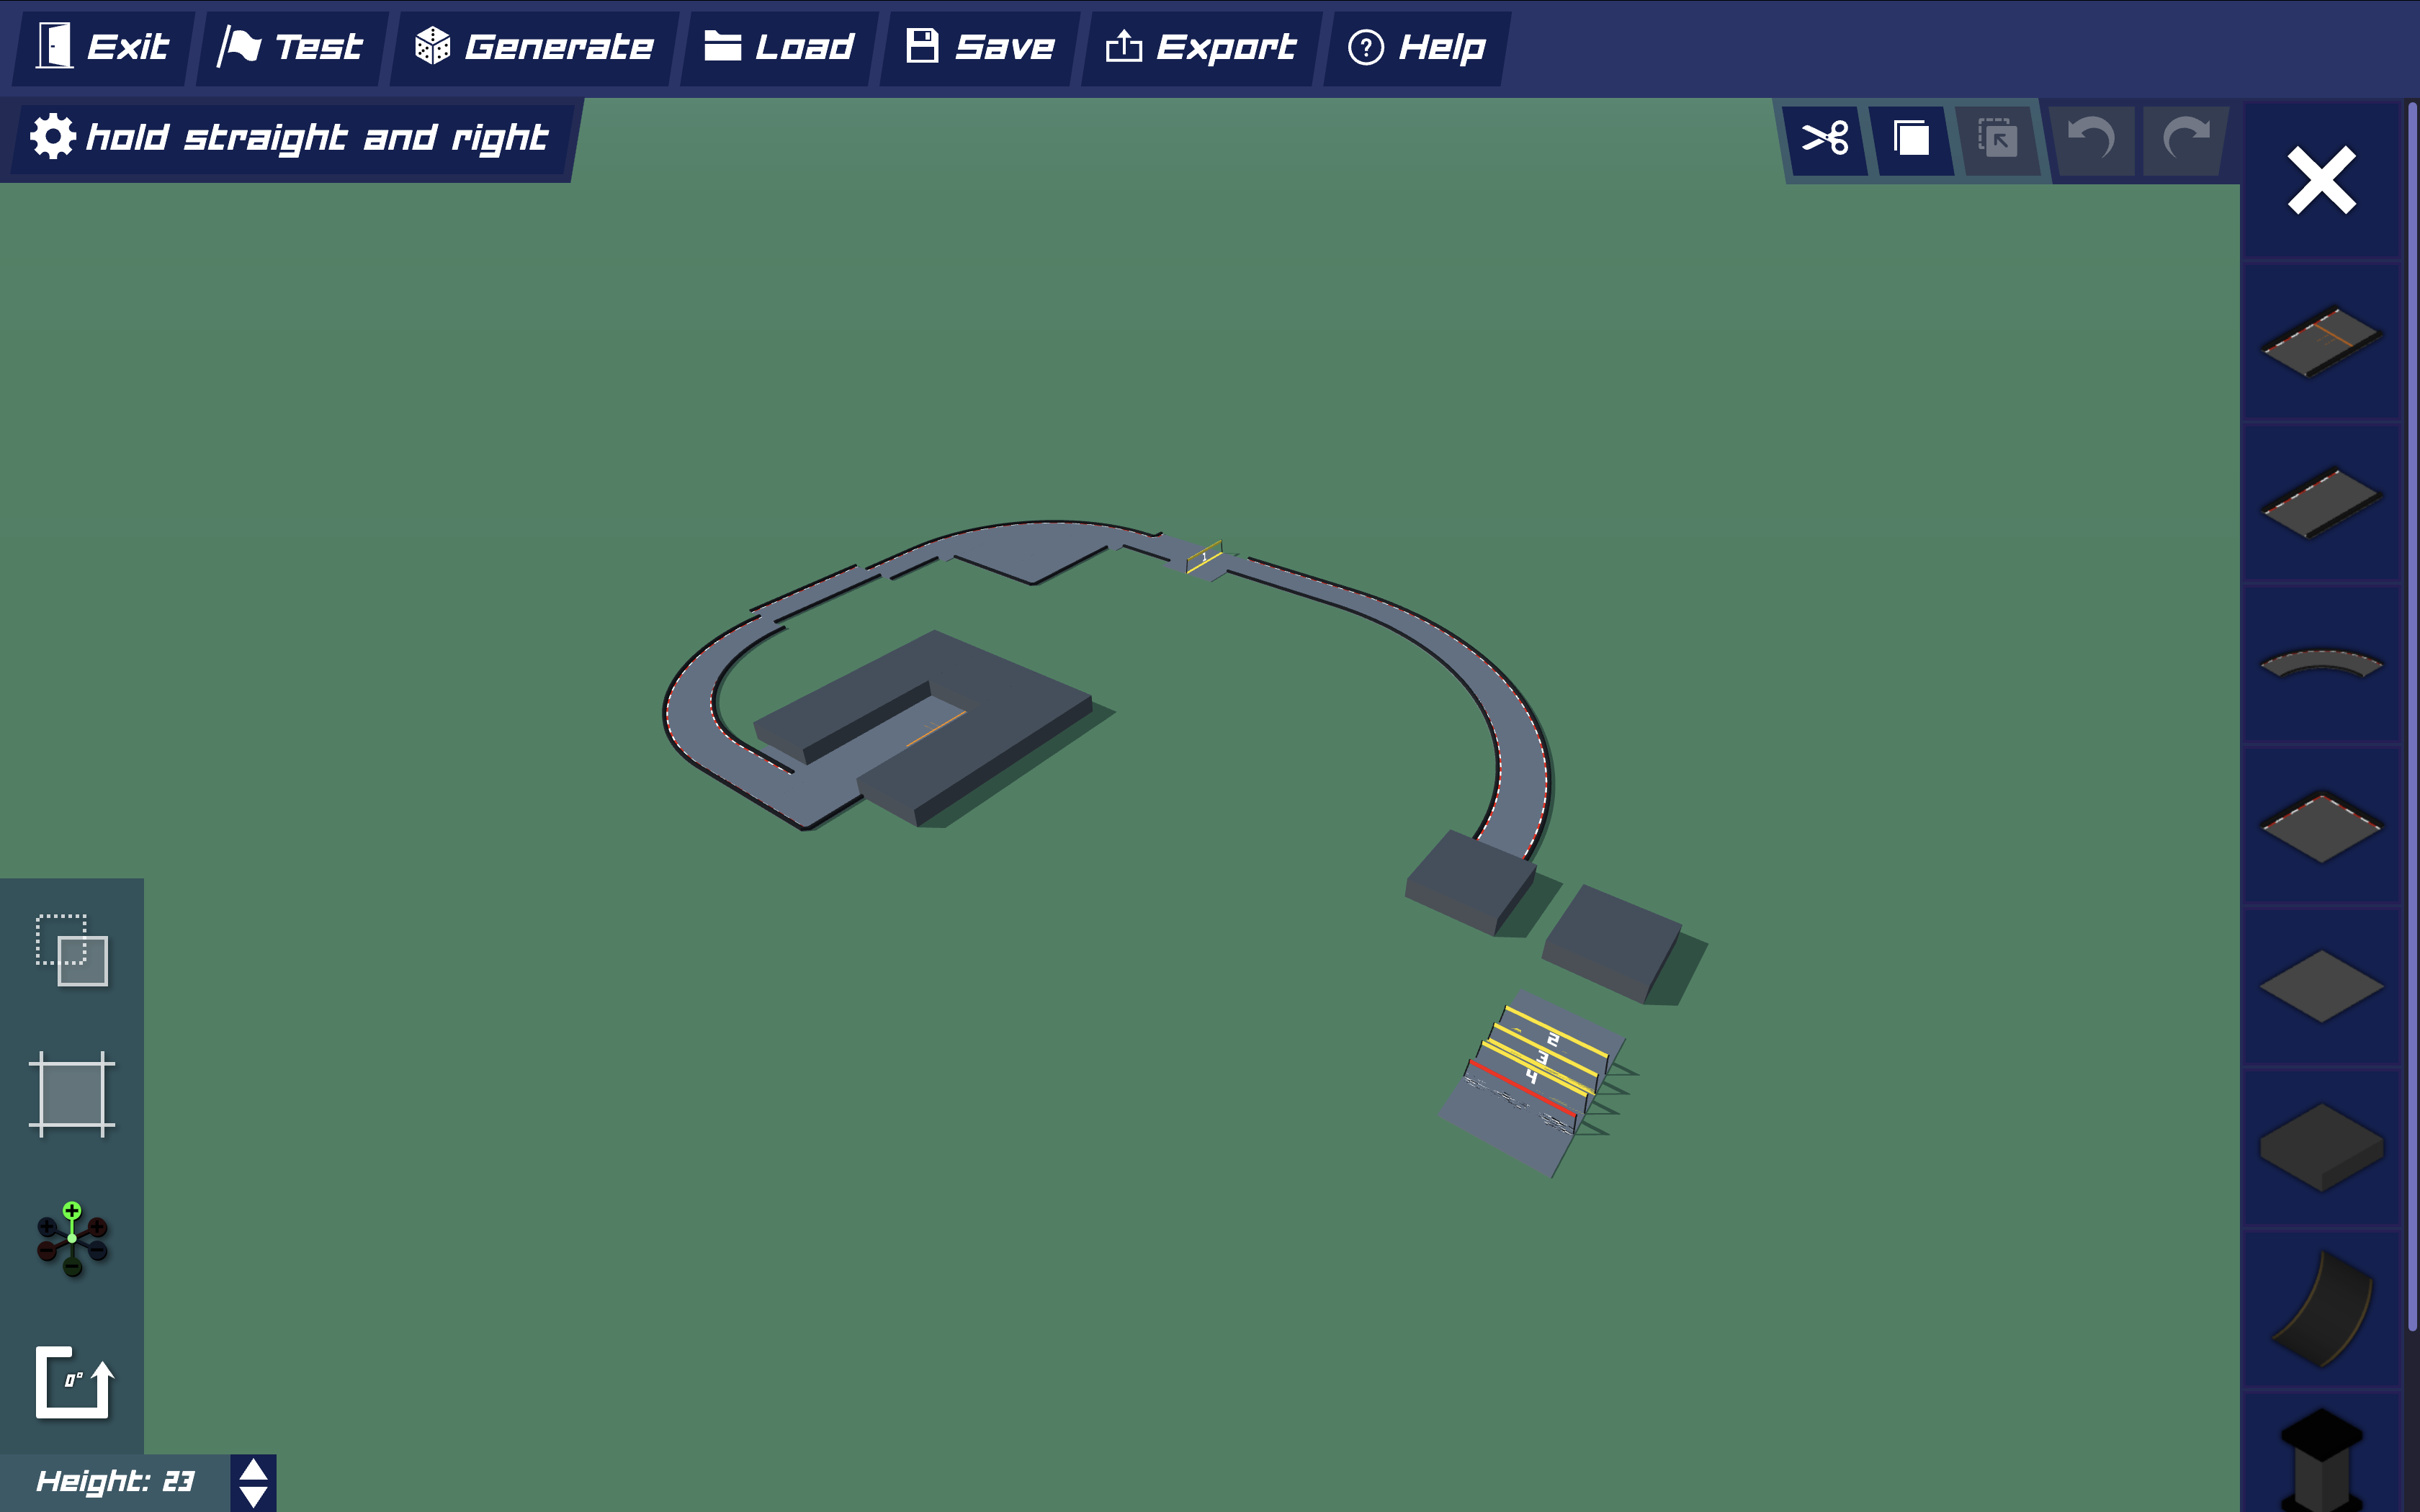
Easy
Hold straight and right
Bruh
24
Uses
24
7d
+24
Rate
63%
Expert
Jump...?
SpeedyCitrus
36
Uses
36
7d
+36
Rate
75%
Medium
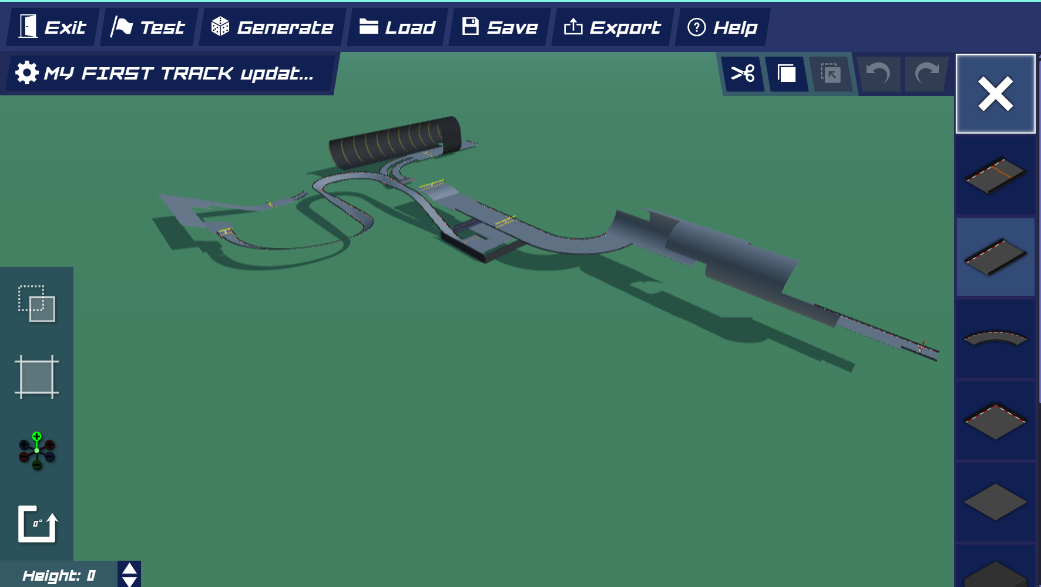
MY FIRST TRACK updated
Black Cheese
37
Uses
37
7d
+37
Rate
86%