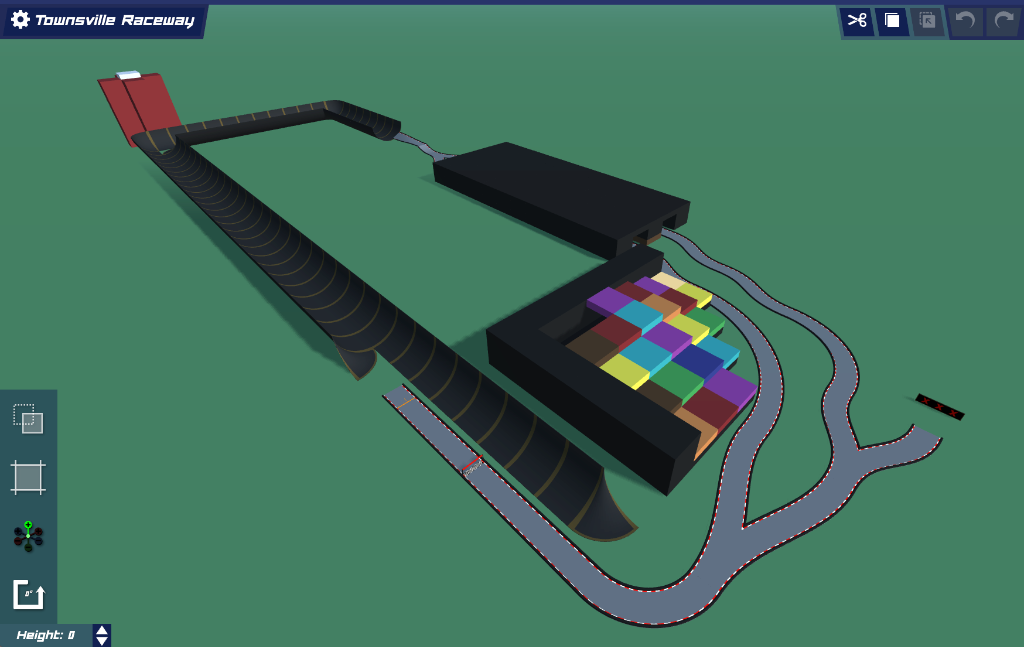
Community Track #204: Townsville Raceway
u/OkSpecialist3591
March 17, 2026
11 uses
+4 this week
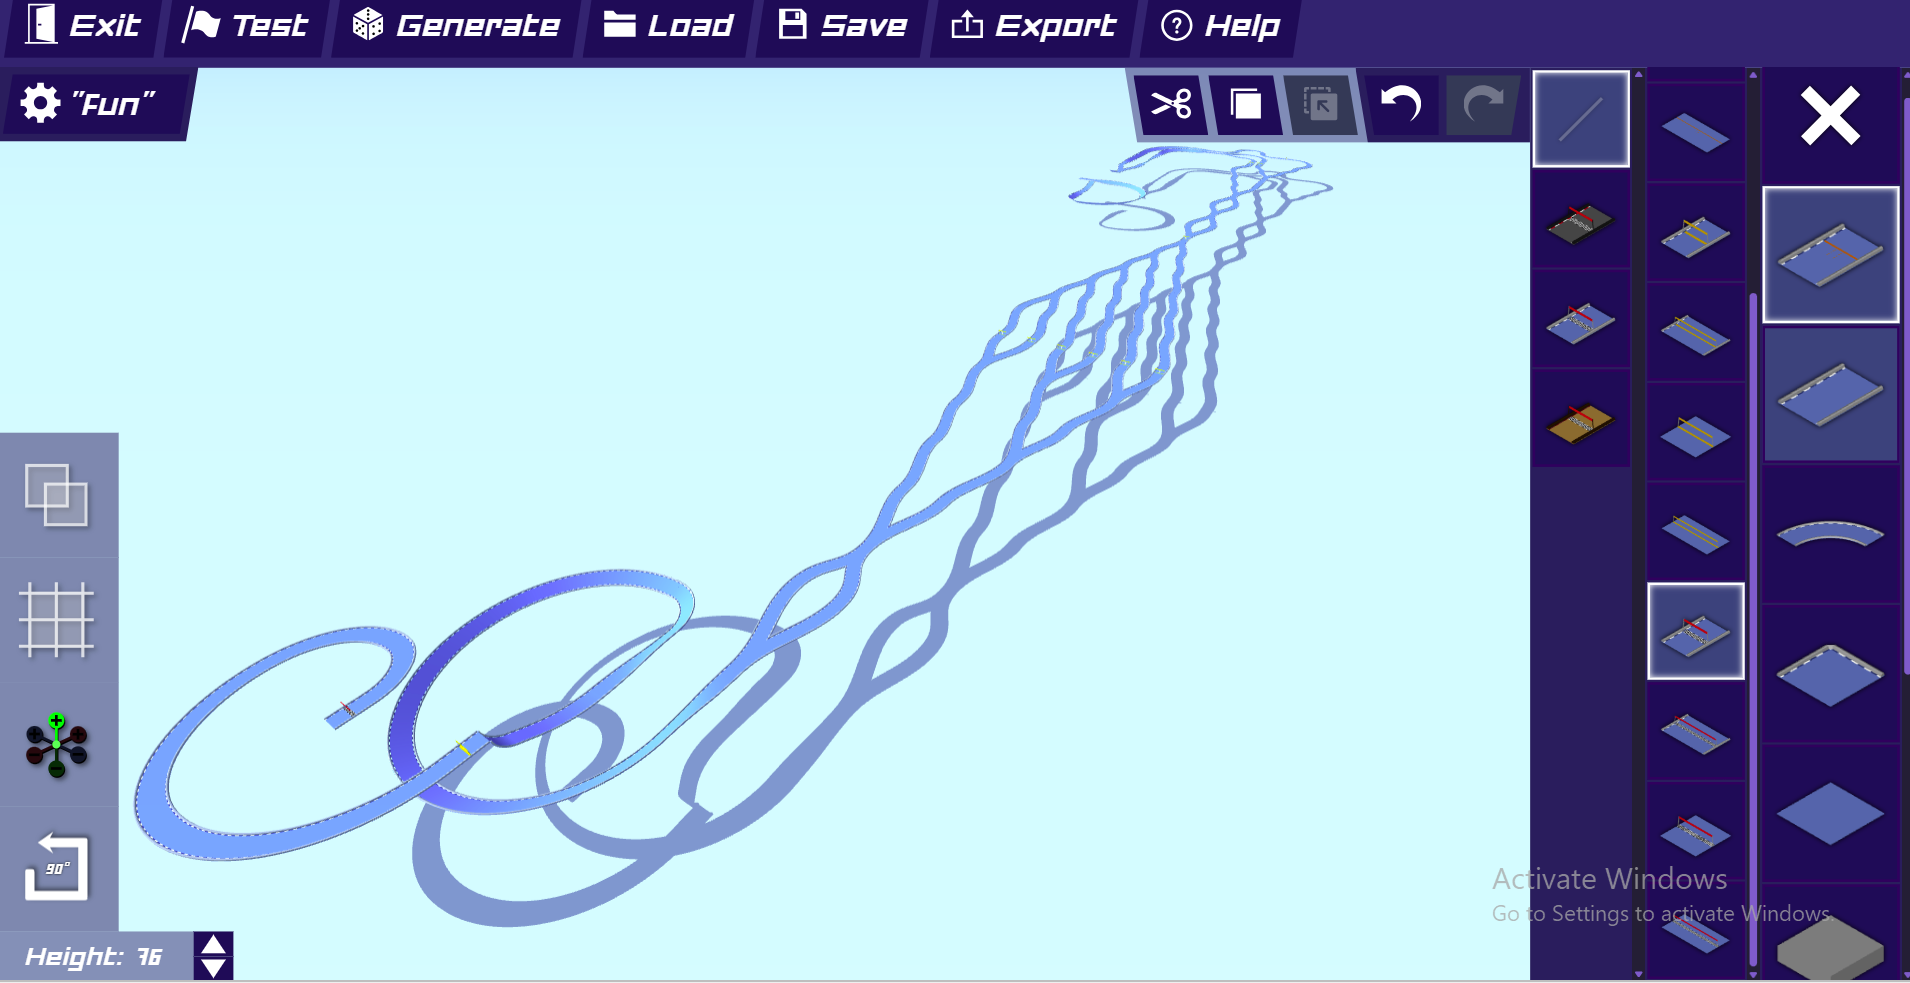
Simply titled "Made a new track" on Reddit, u/OkSpecialist3591 has quietly dropped one of the most visually distinctive circuit designs in the community library. Townsville Raceway is a flat plane racing circuit that combines aggressive tunnel architecture with a wild, rainbow colored block mosaic centerpiece — and it works way better than it has any right to.
CategoryRacing
DifficultyMedium
Creatoru/OkSpecialist3591
AddedMar 2026
Views13
7d Uses+4
Copy Rate85%
Track Code
How to Use This Code
- Click the "COPY CODE" button above
- Open PolyTrack in your browser
- Go to Track Editor → Import
- Paste the code and click Load
- Start Game
Content & Review Notes
Tracks on PolyTrackCodes come from community submissions and public community sources. We remove obvious spam and broken entries when reported.
Player Comments
Share driving tips, route notes, or feedback for this track.
Reviewed before publishing
Sign in to join the discussion for this track.
No published comments yet.
You Might Also Like

Medium
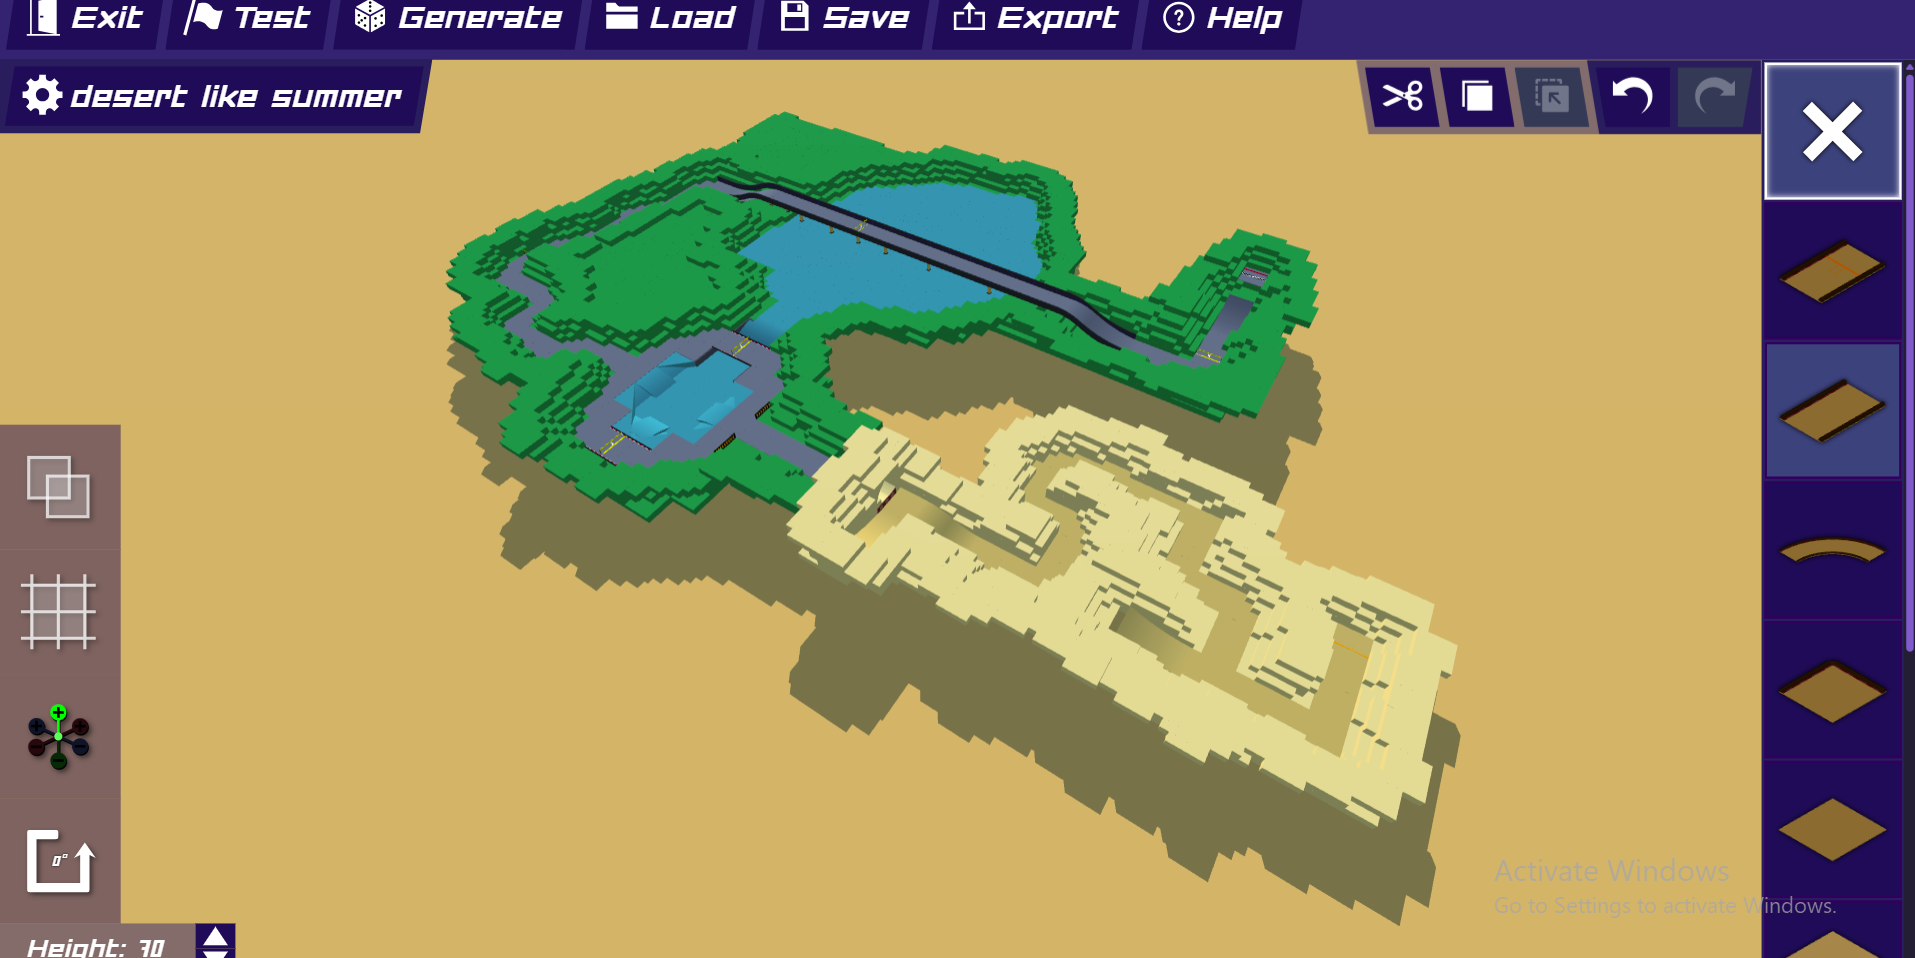
Summer Like Desert(fixed)
.-. .- -. -.. --- -- .----
53
Uses
53
7d
+53
Rate
85%
Medium
Desert Like Summer
.-. .- -. -.. --- -- .----
49
Uses
49
7d
+49
Rate
82%
Medium
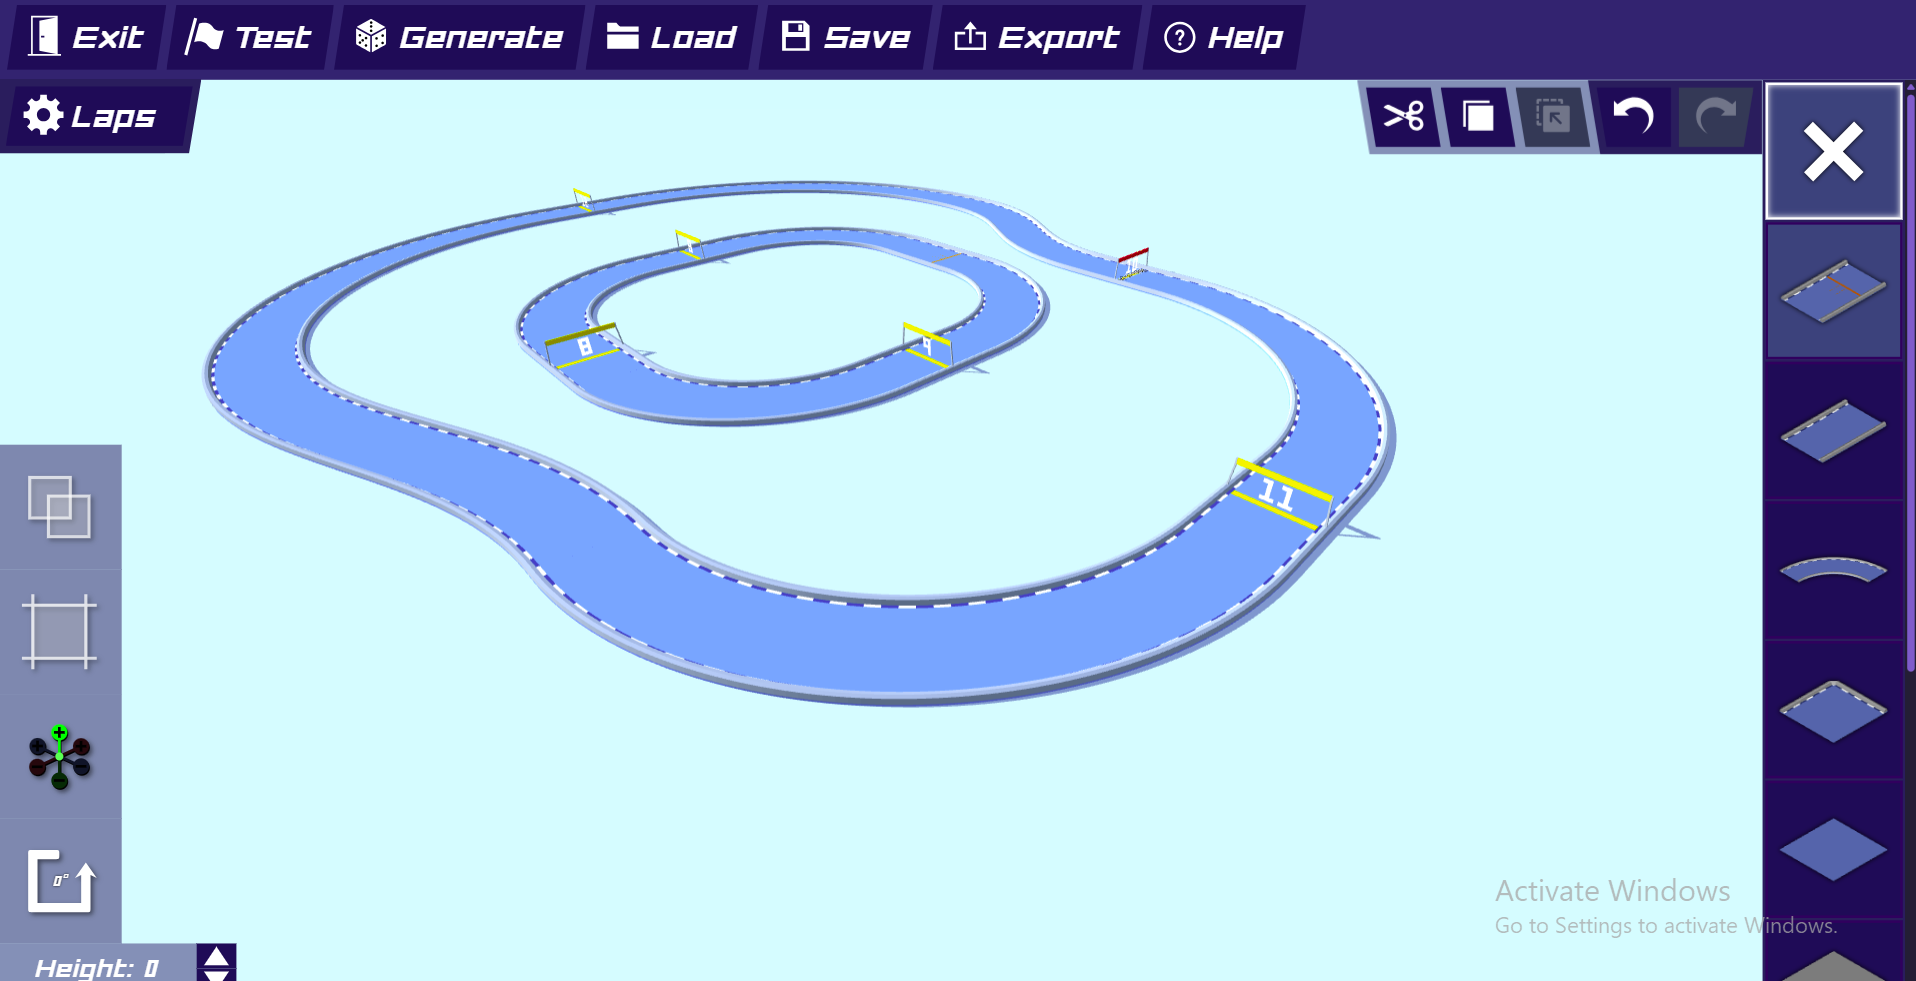
Laps
.-. .- -. -.. --- -- .----
16
Uses
16
7d
+16
Rate
62%
Medium
Silverstone
007
45
Uses
45
7d
+45
Rate
87%
Medium
"fun"
.-. .- -. -.. --- -- .----
45
Uses
45
7d
+45
Rate
80%
Medium
Nürburgring Nordschleife
007
70
Uses
70
7d
+70
Rate
90%