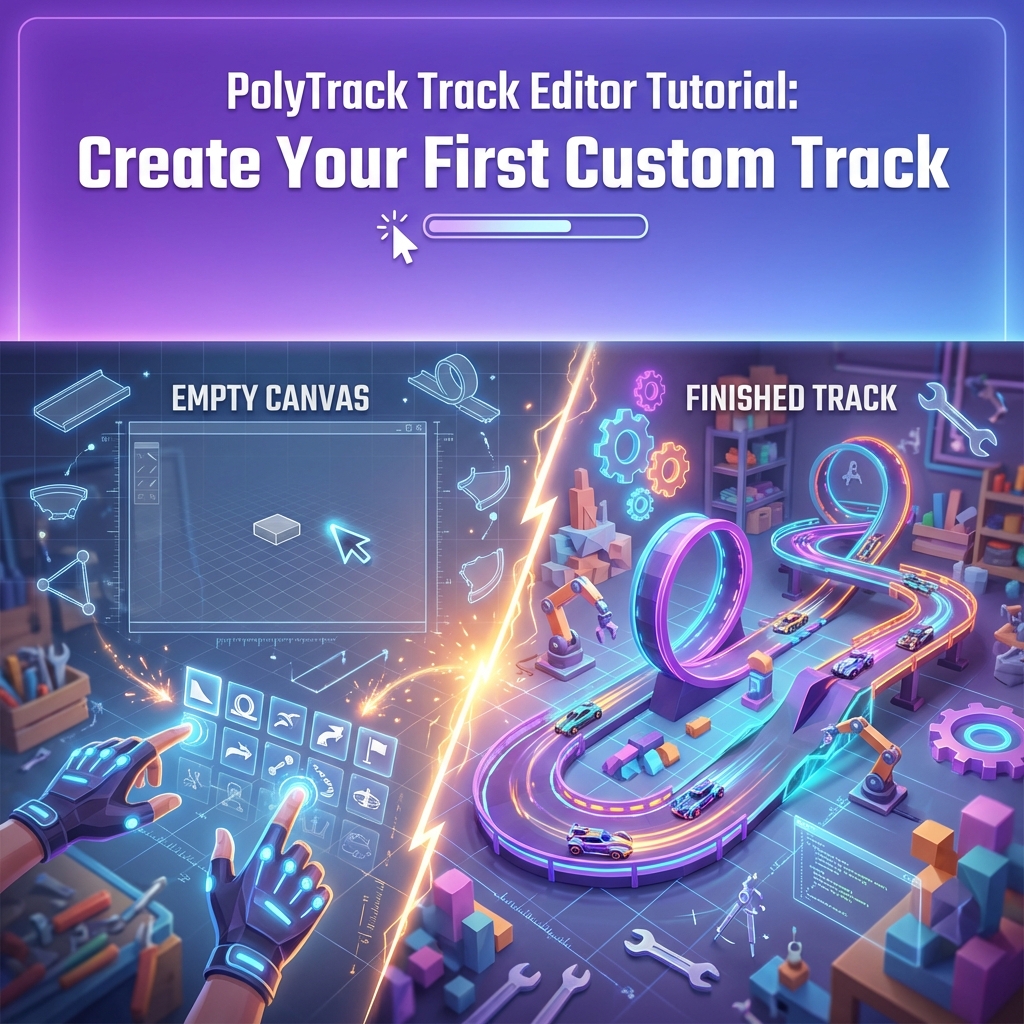
PolyTrack Track Editor Tutorial: Create Your First Custom Track
The PolyTrack track editor is where creativity meets physics.Whether you're envisioning a high-speed racing circuit or an impossible stunt playground, this comprehensive 2025 tutorial will teach you everything you need to know to create your first masterpiece.
By the end of this guide, you'll have published your first custom track and learned the fundamentals of track design.
Why Create Custom Tracks ?
Creating custom tracks offers unique benefits:
- ** Creative Expression:** Turn your wildest racing ideas into reality
- ** Community Recognition:** Build a reputation as a skilled track designer
- ** Infinite Replayability:** Design tracks perfectly suited to your playstyle
- ** Learning Opportunity:** Understanding track design makes you a better racer
- ** Sharing Passion:** Thousands of players will experience your creation
- ** Learning Opportunity:** Understanding track design makes you a better racer
- ** Infinite Replayability:** Design tracks perfectly suited to your playstyle
- ** Community Recognition:** Build a reputation as a skilled track designer
The barrier to entry is low, but the skill ceiling is impossibly high.Let's get started!
Section 1: Understanding the Editor Interface
Accessing the Editor
** Method 1: From Main Menu **
    1. Launch PolyTrack
2. Click "Track Editor" or "Create" button 3. Select "New Track"
** Method 2: From Existing Track **
    1. Load any custom track
2. Click "Edit" button(if available) 3. Modify and save as new track
Interface Overview
When you first open the editor, you'll see:
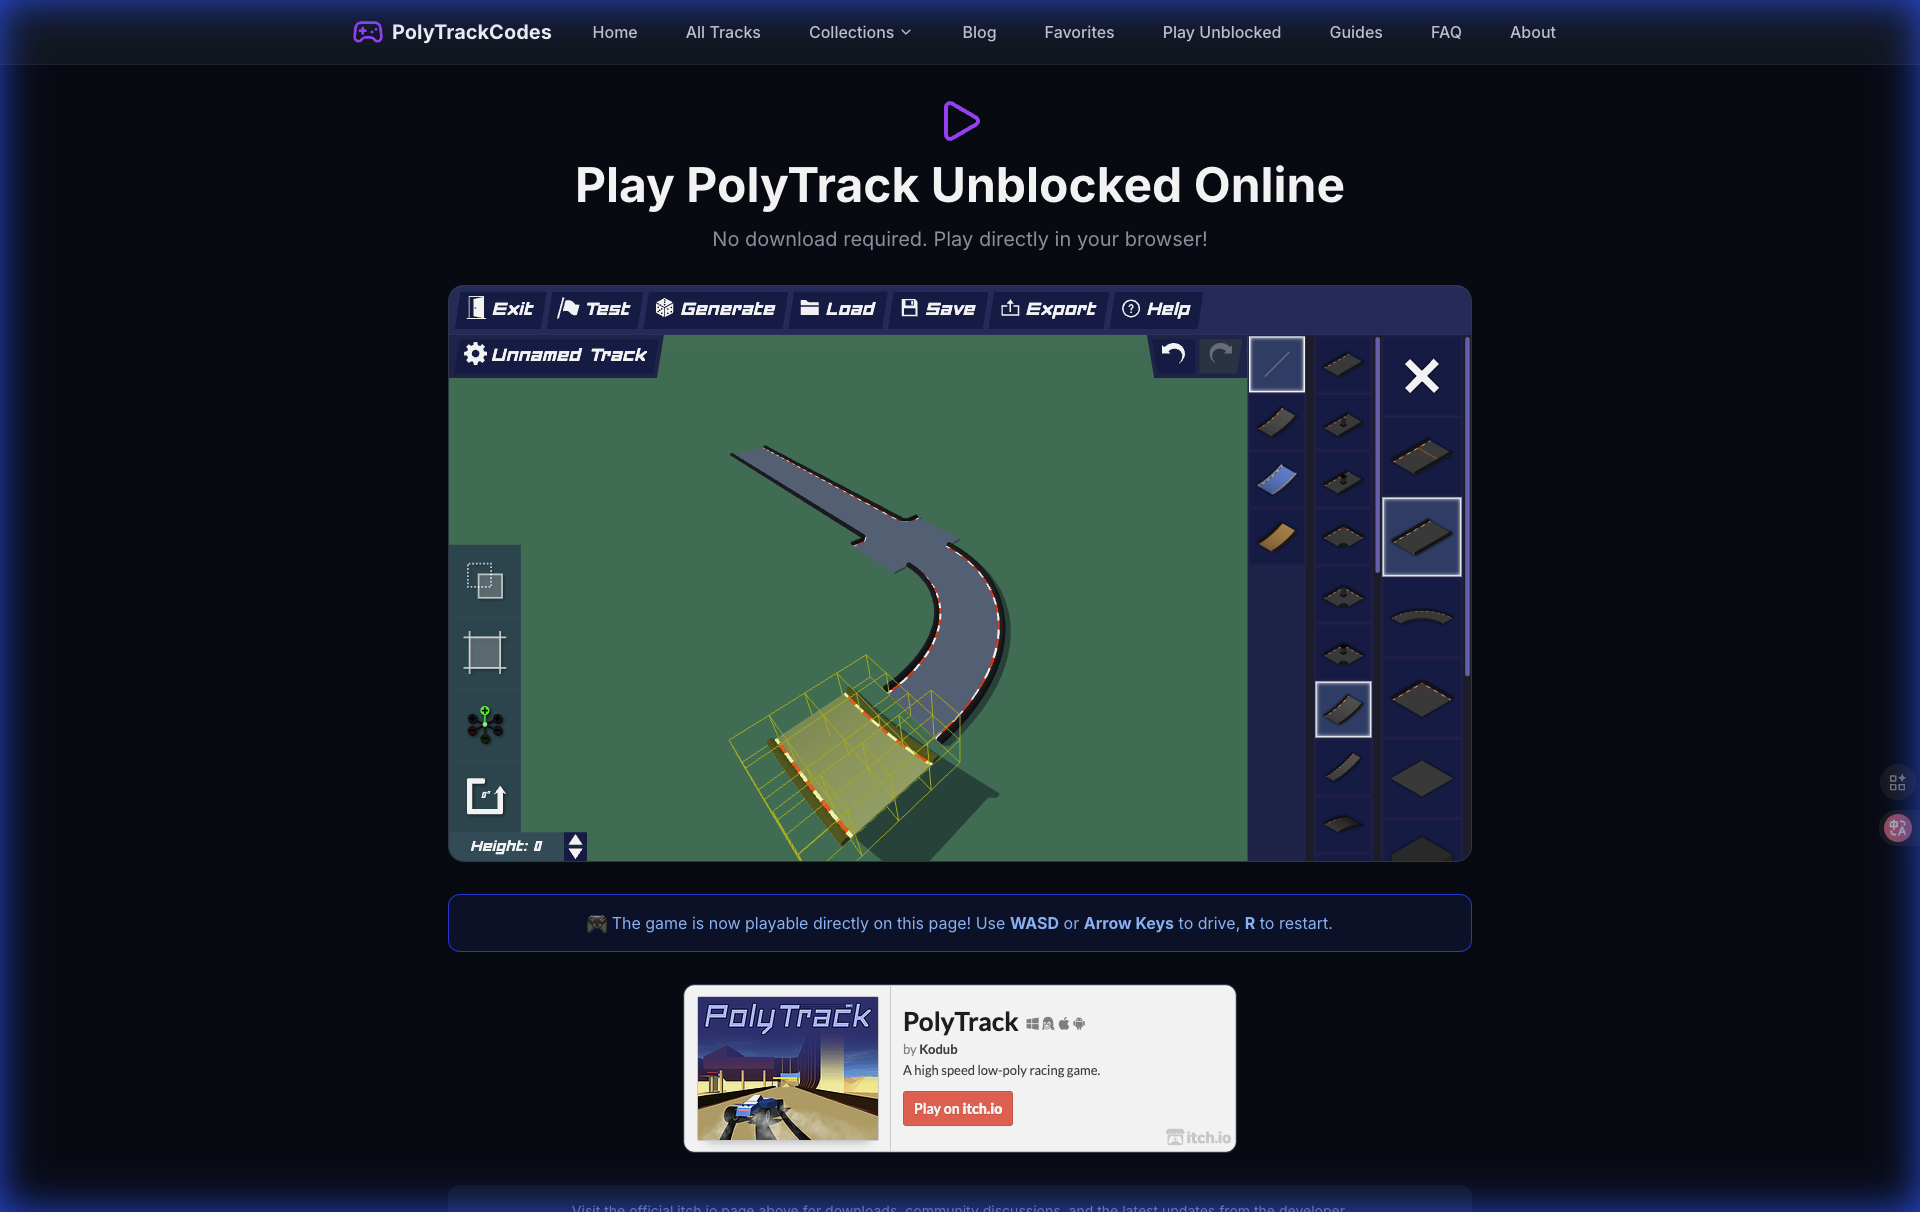
** Left Panel: Track Pieces Palette **
- Categorized track segments(Straights, Curves, Loops, etc.)
- Color - coded by type
-
Search function for quick access
** Center: 3D Viewport **
-
- Color - coded by type
- Your track construction area
- Grid - based snapping system
-
Camera controls(rotate, pan, zoom)
** Right Panel: Properties **
-
- Grid - based snapping system
- Selected piece settings
- Track metadata(name, difficulty, description)
-
Testing and export options
** Bottom Toolbar: Quick Actions **
-
- Track metadata(name, difficulty, description)
- Undo / Redo * Save / Load * Test Track * Publish
Section 2: Essential Editor Controls
Master these controls before building:
Camera Navigation
| Action | PC Controls | Mac Controls | Function |
|: ---|: ---|: ---|: ---| | ** Rotate ** | Right Mouse + Drag | Cmd + Drag | Orbit camera around track | | ** Pan ** | Middle Mouse + Drag | Option + Drag | Move viewpoint | | ** Zoom ** | Mouse Wheel | Trackpad Pinch | Zoom in/out | | ** Reset View ** | Home Key | Fn + Left Arrow | Return to default angle |
Track Piece Placement
| Action | PC Controls | Mac Controls | Function |
|: ---|: ---|: ---|: ---| | ** Place Piece ** | Left Click | Left Click | Add selected piece | | ** Delete Piece ** | Delete / Backspace | Delete | Remove selected piece | | ** Rotate Piece ** | R Key(before placing) | R Key | Rotate 90° | | ** Fine Rotate ** | Shift + R | Shift + R | Rotate 15° | | ** Move Piece ** | Click + Drag | Click + Drag | Reposition placed piece |
Power User Shortcuts
*   ** Ctrl + D **: Duplicate selected piece
    *   ** Ctrl + Z **: Undo last action
        *   ** Ctrl + Y **: Redo
            *   ** Ctrl + S **: Quick save
                *   ** Space **: Pause / Resume test mode
                    *   ** Esc **: Exit test mode
Section 3: Track Pieces Explained
Understanding piece types is crucial for effective design.
1. ** Straight Track Segments **
** Types:**
- Short Straight(5m)
- Medium Straight(10m)
-
Long Straight(20m)
** When to Use:**
-
- Medium Straight(10m)
- Speed sections
- Connecting complex segments
-
Giving players time to prepare for turns
** Pro Tip:** Vary straight lengths to create rhythm.Monotonous straights are boring!
-
- Connecting complex segments
2. ** Curves and Turns **
** Banking:** Curves come in flat, medium - banked, and high - banked variants.
-
** Flat Curves:** Require braking / drifting.Good for technical sections.
-
** Medium Bank:** Can be taken at moderate speed.Most versatile.
-
** High Bank:** Allow full - throttle cornering.Use cautiously - can feel "cheap."
** Radius:**
-
Tight(90°, small radius): Challenging, slows gameplay
- Medium(45°-90°): Balanced, maintains flow
- Wide(gentle arc): High - speed, requires space
- Medium(45°-90°): Balanced, maintains flow
3. ** Vertical Elements **
** Ramps:**
- Gentle Launch(15° angle): Safe jumps
- Steep Launch(45° angle): High air, precise landing required
-
Boost Ramp: Adds velocity on takeoff
** Loops:**
-
- Steep Launch(45° angle): High air, precise landing required
- Full Loop(360°): Classic stunt.Requires minimum entry speed(~80mph)
-
Half - Pipe: Vertical transition, advanced technique
** Drops:**
-
- Small Drop(3m): Excitement without danger
- Large Drop(10m +): High risk, requires perfect landing angle
4. ** Special Pieces **
** Boost Pads:**
- Speed Booster: Adds fixed velocity
-
Turbo Pad: Massive acceleration(use sparingly!)
** Checkpoints:**
-
- Mandatory in published tracks
- Reset point when players crash
-
Place every 300 - 500m
** Decorative Elements:**
-
- Reset point when players crash
- No gameplay impact
- Enhance visual appeal
- Guide player attention
- Enhance visual appeal
Section 4: Beginner's First Track-Step-by-Step
Let's build a simple but fun beginner track together.
** Goal:** Create a 30 - second racing circuit with one jump and one challenging turn.
Step 1: Plan Your Layout
Before placing pieces, sketch your concept:
- ** Start:** Straight launch
- ** Section 1:** Gentle curve right
- ** Section 2:** Jump over gap
- ** Section 3:** Tight hairpin turn
- ** Section 4:** Speed straight
-
** Finish:** Connect back to start
** Estimated Pieces Needed:** ~20 - 25
-
- ** Section 4:** Speed straight
- ** Section 3:** Tight hairpin turn
- ** Section 2:** Jump over gap
- ** Section 1:** Gentle curve right
Step 2: Lay the Foundation
-
** Place Start / Finish Line ** -Find "Special" category - Select "Start Line" piece - Click to place at origin(0, 0, 0)
-
** Add Opening Straight ** -Select "Long Straight" from Straights category - Attach to start line(it should snap automatically) - The green highlight indicates valid connection
Step 3: First Turn
-
** Add Medium Right Curve ** -From Curves category, select "90° Right Turn (Medium Bank)" - Connect to the end of straight - Notice how banking helps players maintain speed
-
** Follow with Short Straight ** -This gives players time to line up for the jump
Step 4: Create the Jump
-
** Add Launch Ramp ** -Select "Gentle Launch Ramp" - Connect to straight
-
** Create Gap ** -Do NOT place a piece immediately after ramp - Leave 10m gap in the air
-
** Place Landing Ramp ** -Position "Landing Ramp" piece on opposite side of gap - Ensure altitude matches launch ramp exit -** Critical:** Use grid snapping(hold Shift while placing)
- ** Test Jump ** -Click "Test Track" button(flag icon) - Drive through to verify jump is clearable - Adjust ramp angles if car undershoots / overshoots
Step 5: The Hairpin Turn
-
** Add Transition Straight ** -Connect to landing ramp - Medium length(10m)
-
** Create 180° Hairpin ** -Use two "90° Left Turn (Flat)" pieces back - to - back - OR use one "180° Hairpin" if available - Low / no banking forces players to brake
-
** Exit Straight ** -Connect medium straight exiting hairpin
Step 6: Return Home
-
** Final Speed Section ** -Add long straight with boost pad halfway - This rewards players who navigated hairpin cleanly
-
** Connect to Start ** -Use appropriate curve piece to align with start line - Ensure track forms complete loop
-
** Add Checkpoints ** -Place checkpoint before jump - Place checkpoint after hairpin - Checkpoints = crash reset points
Step 7: Test Extensively
** Testing Checklist:**
- [] Can complete lap without crashing
- [] Jump is clearable at normal speed
- [] Hairpin requires skill but isn't impossible
- [] No floating / disconnected pieces
- [] Checkpoints placed logically
-
[] Track flows smoothly
** Common Test Fixes:**
-
- [] Checkpoints placed logically
- [] No floating / disconnected pieces
- [] Hairpin requires skill but isn't impossible
- [] Jump is clearable at normal speed
- Jump too short ? Increase launch ramp angle or add boost before ramp
- Hairpin too hard ? Widen turn or add slight banking
- Track feels slow ? Add boost pads or widen corners
- Hairpin too hard ? Widen turn or add slight banking
Section 5: Design Principles for Great Tracks
Principle 1: Flow
** Flow ** is the holy grail of track design.A track has good flow when:
- Players can anticipate what's coming
- Speed is maintained without constant braking
-
Transitions between sections feel natural
** How to Achieve Flow:** 1. Avoid sudden elevation changes
-
- Speed is maintained without constant braking
- Telegraph turns with track color / landmarks
- Balance high - speed and technical sections
- Use banking / boost pads to maintain momentum
Principle 2: Risk vs Reward
Give players choices:
- ** Safe Line:** Slower but more forgiving
- ** Optimal Line:** Faster but requires precision
-
** Shortcut:** High - risk, high - reward alternate path
** Example:** Add two routes around a hairpin:
-
- ** Optimal Line:** Faster but requires precision
- Outer route: Easier, adds 2 seconds
- Inner route: Tight, risky, saves time if perfect
Principle 3: Visual Clarity
Players can't enjoy your track if they can't see it!
** Best Practices:**
- Use contrasting colors for track and background
- Place lights / markers at blind turns
- Avoid visual clutter in racing line
- Test in different camera angles
- Avoid visual clutter in racing line
- Place lights / markers at blind turns
Principle 4: Difficulty Curve
Structure your track like a story:
- ** Act 1(Opening 25 %):** Warm - up.Simple sections.Build confidence.
- ** Act 2(Middle 50 %):** Main challenges.Signature elements.Test skills.
- ** Act 3(Final 25 %):** Climax + resolution.Hardest section followed by satisfying finish straight.
** Anti - Pattern:** Don't make first turn the hardest. Players need time to learn the track!
Principle 5: Respect Player Time
Bad tracks waste player time:
- Checkpoints too far apart(frustration)
- Impossible sections(rage quit)
- Boring long straights(boredom)
- Impossible sections(rage quit)
Good tracks value player time:
- Fair checkpoints(every 20 - 30 seconds of racing)
- Challenging but achievable design
- Constant engagement
- Challenging but achievable design
Section 6: Common Beginner Mistakes
Learn from these frequent errors:
Mistake 1: Impossible Jumps
** Problem:** Launch ramp angle vs gap distance mismatch.
** Solution:**
- Calculate roughly: 45° ramp = 15m max jump
- Always test jumps from slowest possible approach speed
- Add boost pad before jump if needed for consistency
- Always test jumps from slowest possible approach speed
Mistake 2: Grid Misalignment
** Problem:** Pieces slightly off - grid, causing gaps or overlaps.
** Solution:**
- Enable "Snap to Grid"(usually default )
- Use alignment tools(some editors have "Align to Previous Piece" button)
- When in doubt, delete and re - place piece
- Use alignment tools(some editors have "Align to Previous Piece" button)
Mistake 3: No Checkpoints
** Problem:** Players crash and restart from beginning.
** Solution:**
- Rule of thumb: Checkpoint every 300 - 500m or after difficult sections
- Test by crashing intentionally -do you want to repeat everything before this point ?
Mistake 4: Confusing Layout
** Problem:** Players get lost or take wrong turns.
** Solution:**
- Use arrows / signs to indicate direction
- Make correct path more visually obvious
- Add barriers to block incorrect routes
- Make correct path more visually obvious
Mistake 5: Overdesigning
** Problem:** Track has too many ideas crammed together.
** Solution:**
- Pick 1 - 3 signature elements(e.g., "the triple loop" or "the cliff jump")
- Focus on executing those perfectly
- Save other ideas for Track v2.0
- Focus on executing those perfectly
Section 7: Publishing Your Track
Once your track is polished:
Step 1: Finalize Metadata
Click "Track Settings" and fill out:
** Track Name:**
- Be descriptive but concise
- Good: "Sunset Hairpin Circuit"
-
Bad: "My Track v3 Final REAL"
** Description:**
-
- Good: "Sunset Hairpin Circuit"
- Mention difficulty: "Beginner-friendly" or "Expert-level jumps"
- Highlight key features: "Features two massive loops and a shortcut through the canyon"
-
Gameplay time: "~45 second lap"
** Difficulty Tag:**
-
- Highlight key features: "Features two massive loops and a shortcut through the canyon"
- Be honest! Mislabeling frustrates players
- Easy: Can be completed first try by average player
- Medium: Requires practice, some tricky sections
- Hard: Demands skill, multiple challenging segments
-
Expert / Impossible: Only for top - tier players
** Tags / Categories:**
-
- Hard: Demands skill, multiple challenging segments
- Medium: Requires practice, some tricky sections
- Easy: Can be completed first try by average player
- Racing, Drift, Stunt, Technical, Speed, etc.
- Check 2 - 3 that fit best
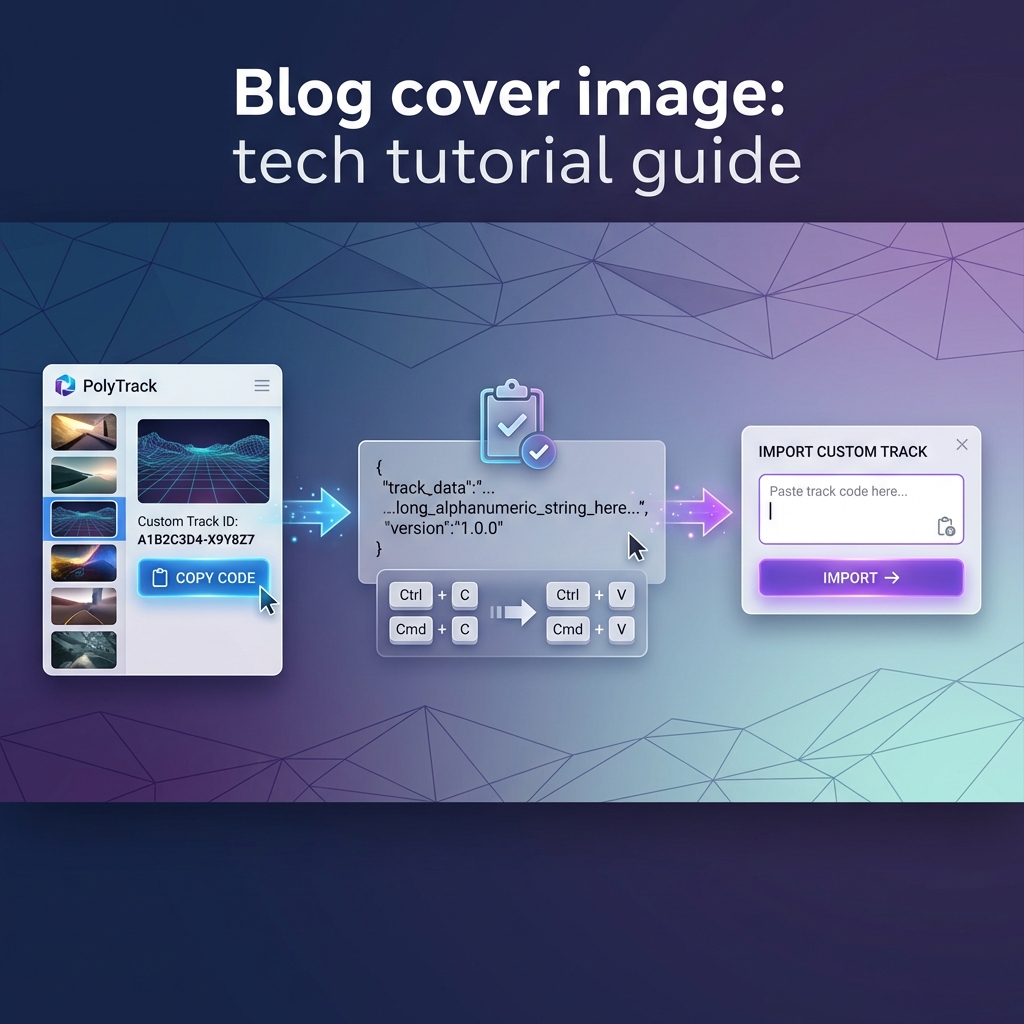
Step 2: Generate Track Code
-
Click "Export" or "Publish"
-
The editor generates a long alphanumeric code
-
This code contains ALL track data
-
Copy to clipboard(Ctrl + C)
** Example Code Format:**
- Example: PolyTrack_v2_AAB1234XYZ...*
Step 3: Share with Community
** Option 1: Submit to PolyTrackCodes.com ** 1. Navigate toSubmit Page 2. Paste your track code 3. Add title, description, category 4. Click "Submit" 5. Your track is now searchable!
** Option 2: Share on Social **
- Post code in Discord / Reddit
- Include screenshot or gameplay video
-
Explain what makes your track unique
** Option 3: Private Sharing **
-
- Include screenshot or gameplay video
- Send code directly to friends
- They import using method from Import Guide
Section 8: Advanced Techniques(Preview)
Once you've mastered basics, explore:
Scripting(Advanced Editors Only)
* Moving obstacles
    * Timed gates
        * Environmental hazards
Theming
* Consistent visual style
    * Custom skyboxes / backgrounds
        * Atmospheric effects(fog, lighting)
Remixing
* Start with existing popular track
    * Modify one element radically
        * Publish as "X Track Remix"
        * Always credit original creator!
Section 9: Getting Feedback
Your first tracks won't be perfect. That's okay!
** Where to Get Feedback:**
    1. ** PolyTrackCodes Comments:** After publishing, check back for ratings / comments
2. ** Discord Communities:** Share work -in -progress for early feedback 3. ** YouTube:** Record gameplay and ask for critique 4. ** Friends:** Direct playtesting is invaluable
** How to Accept Critique:**
- Don't take it personally
- Separate subjective taste from objective flaws
- If 3 + people mention same issue, it's probably valid
- Thank critics - they spent time helping you improve!
- If 3 + people mention same issue, it's probably valid
- Separate subjective taste from objective flaws
Conclusion: Your Track Building Journey Starts Now
You now have the knowledge to:
- Navigate the PolyTrack track editor
- Place and connect track pieces
- Design a fun, flowing circuit
-
Publish and share your creation
** Your Action Items:** 1. Open the editor right now
-
- Design a fun, flowing circuit
- Place and connect track pieces
- Build the tutorial track from Section 4
- Test it thoroughly
- Publish it on PolyTrackCodes.com
- Share the link with this guide in the comments!
Every master track creator started exactly where you are now.The difference between them and beginners ? They hit "Save" and "Publish."
** Your first track doesn't have to be perfect. It just has to be yours.**
Happy building! 🏗️
2026 Update: New Editor Features in PolyTrack 0.6.0
Updated February 2026
The PolyTrack 0.6.0 beta (February 14, 2026) delivered major editor improvements that change the workflow significantly.
Cut, Copy, and Paste Are Finally Here
The most requested editor feature is now in the game. You can now cut, copy, and paste track segments just like in any document editor:
- Ctrl+C (Cmd+C on Mac): Copy selected track segment(s)
- Ctrl+X (Cmd+X): Cut selected segment(s)
- Ctrl+V (Cmd+V): Paste at the cursor position
What this unlocks for track building:
- Symmetrical sections: Build one side of a chicane, copy it, flip/mirror it for the other side
- Repeating patterns: Create a complex banked hairpin sequence once, copy it three times for a multi-hairpin layout
- Iterative design: Test a section, copy it as a backup, then experiment freely — paste the backup if the experiment fails
- Speedrun duplication: Copy a working segment, paste it adjacent to extend straights or sections without rebuilding from scratch
Workflow tip: Before attempting a major redesign of a section, copy the entire section first (select all pieces, Ctrl+C). Paste it nearby as a backup. Experiment on the original. If it's worse, delete it and paste back the copy.
Three New Track Component Types
Three entirely new piece types joined the editor in 0.6.0:
| Component | What It Does |
|---|---|
| Banked Curves | Tilted turn sections that enable much higher cornering speeds |
| Smooth-Banked Transitions | Blend flat road into banked sections without jarring physics |
| Intersections | Allow your track to cross over or under itself |
Where to find them: In the editor piece picker, look for the new category "0.6.0 Components" or check the recently added sections at the top of the piece list.
Design tip: Always use a smooth-banked transition piece between flat road and any banked curve. Connecting them directly creates a jarring physics snap that frustrates drivers. The transition piece eliminates this completely.
See the New Track Components Guide for detailed building techniques with all three new types.