PolyTrack Summer 2 Speedrun Guide: First Real Challenge
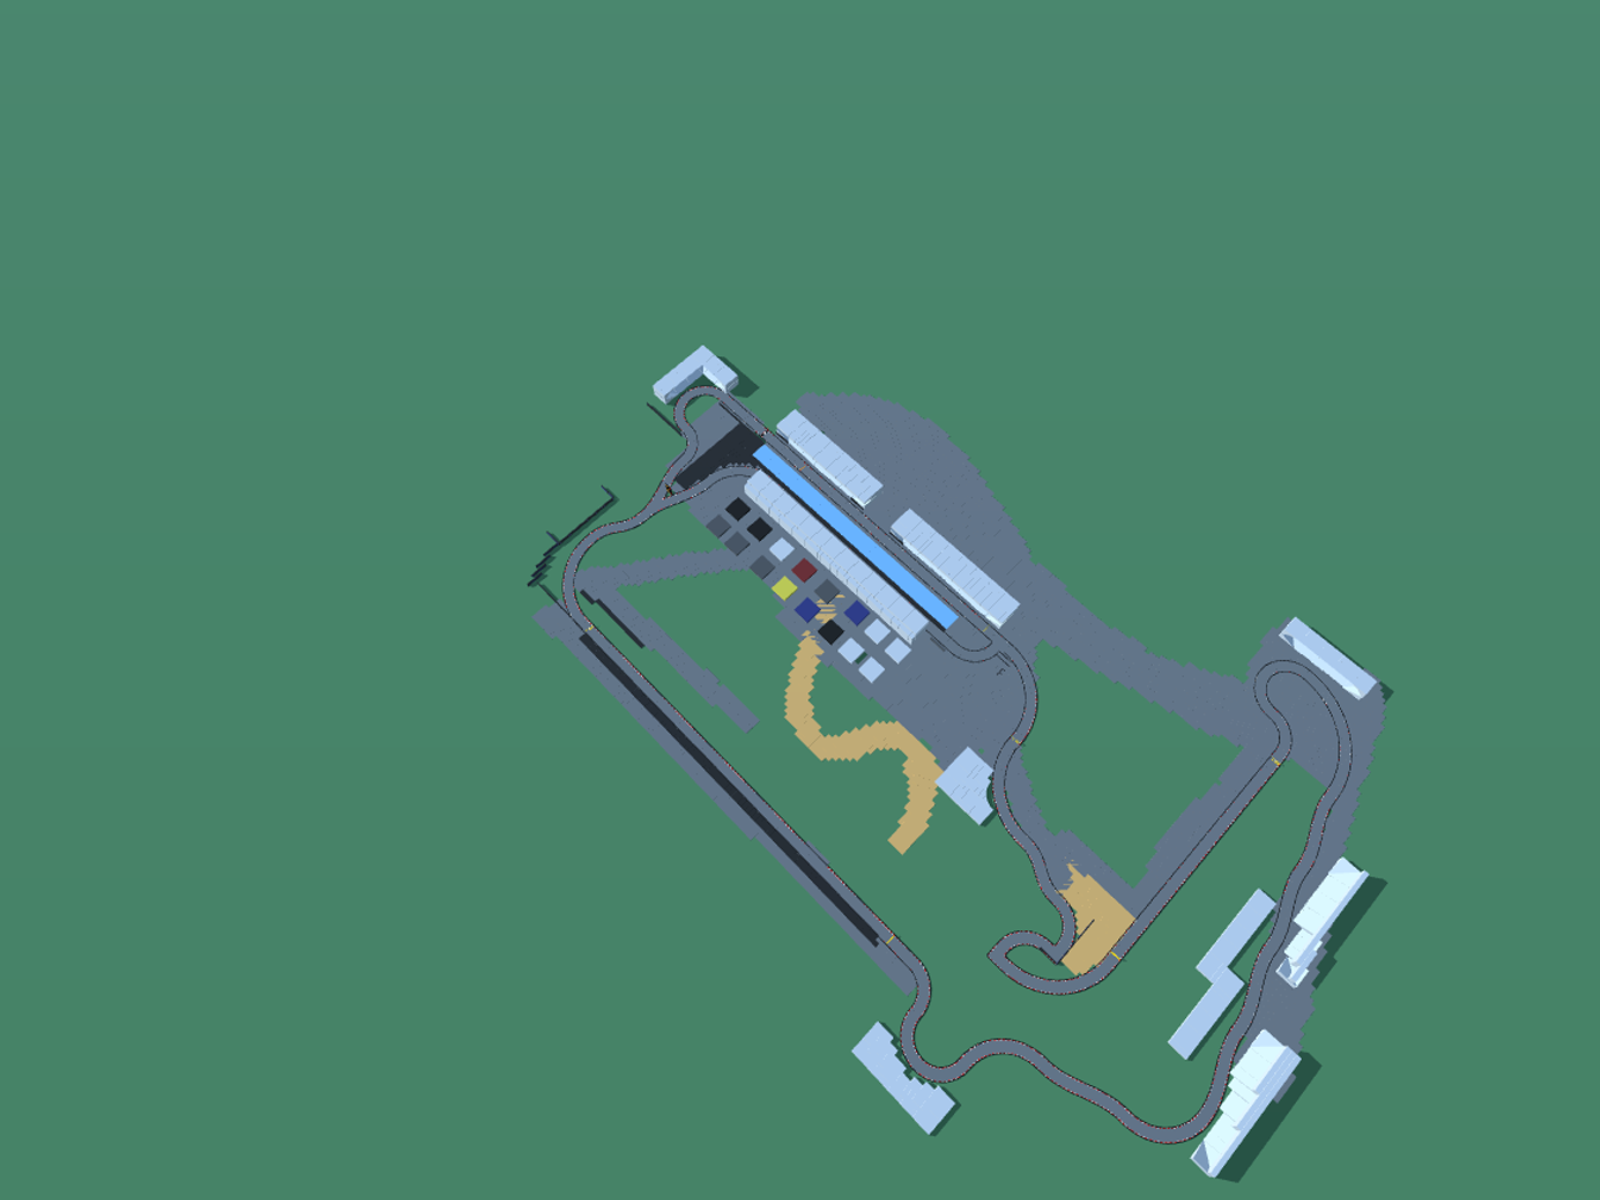
If Summer 1 is the handshake, Summer 2 is the first real conversation. This track introduces multiple consecutive turns, elevation changes, and a jump that actually punishes bad air control. It's the track where casual players hit their first wall—and where dedicated players begin developing the cornering instincts that carry through every track in the game.
Track Overview
| Property | Detail |
|---|---|
| Environment | Summer (grass, clear weather) |
| Estimated Length | ~300 meters |
| Checkpoints | 3-4 |
| Key Features | S-curves, elevation change, moderate jump with angled landing |
| Difficulty | Easy-Medium |
| WR Reference | ~8-10 seconds |
Summer 2 is roughly twice the length of Summer 1 and introduces the concept of connected turns—corners that flow into each other without a straight section between them. This is where the racing line becomes genuinely important, because a bad exit from one turn guarantees a bad entry into the next.

Sector-by-Sector Breakdown
Sector 1: Opening Sequence (Start → First Checkpoint)
The track opens with a gentle left-right combination. Neither turn is tight enough to require braking, but both reward precise steering.
Key principle: Carry momentum through the pair. The left turn flows directly into the right turn, so your exit angle from the first corner becomes your entry angle for the second.
Optimal line:
- Start slightly right of center.
- Sweep left, clipping the inside of the first bend.
- Let the car naturally cross to the right side of the track.
- Sweep right through the second bend, again clipping the inside.
- Exit the combination on the left side of the track, set up for what follows.
Common mistake: Treating each turn independently. New players correct their line between the two turns, losing speed in the process. Instead, commit to a single flowing S-shaped line.
Sector 2: The Climb and Drop
Summer 2 introduces elevation. After the opening S-curves, the track rises and then drops—creating a small crest that can launch your car if approached at high speed.
The optimization question: Do you want to stay grounded over the crest, or do you want to use it as a mini-jump?
- Stay grounded: Lift off the throttle slightly before the crest. The car settles and maintains tire contact. Safer, more predictable.
- Use the launch: Hit the crest at full speed. You'll get a brief moment of air. If the following section is a downward slope, you can land into it for a speed boost.
At beginner level, stay grounded. At competitive level, the launch is faster—but only if you can land cleanly.
Sector 3: The Main Jump
The defining feature of Summer 2. A proper ramp sends you across a gap to a landing surface with a moderate downward angle.
This jump is longer than Summer 1's and gives you more time in the air, which means more time to both correct and overcorrect your pitch.
Approach:
- Ensure the car is perfectly straight when hitting the ramp (no residual steering from the previous section).
- Immediately begin a controlled nose-down pitch (tap W 2-3 times).
- The landing surface slopes down—match it.
- Focus on zero roll. Any sideways tilt on landing will send you sliding off the optimal line for the final sector.
The difference-maker: Top players land early on the slope rather than late. Landing on the steeper initial portion of the slope converts more vertical speed to horizontal speed, giving a measurable advantage over players who overshoot to the flatter section.
Sector 4: Final Corners and Finish
After the landing, Summer 2 wraps with 1-2 final turns before the finish line. These turns are where exhausted concentration causes mistakes.
Mental note: The race isn't over at the landing. Many competitive runs are lost in this final section because players relax after nailing the jump. Stay focused. Hit the racing line through these last corners the same way you practiced the opening sequence.
Key Techniques for This Track
1. The Connected-Turn Rhythm
Summer 2 teaches you to stop thinking of turns as individual events. The entire opening sequence is one continuous flow—your steering should be smooth and rhythmic, like drawing an S-shape with the car.
Practice: Hum a rhythm while driving the opening. "Left... right... straight." The physical rhythm helps your inputs become smoother.
2. Crest Management
The elevation crest in Sector 2 is your first encounter with a track feature that rewards different approaches at different skill levels. At beginner level, the safe approach is correct. At advanced level, the risky approach becomes the only approach.
This is a general PolyTrack principle: safe lines are for consistency, aggressive lines are for speed. You need both.
3. Post-Jump Recovery
After the Sector 3 jump, your car may not be perfectly aligned with the track direction. The final turns come quickly. If you landed with even a slight sideways drift, you need to correct before the next corner arrives.
Key: Gentle steering corrections immediately after landing. Don't wait until the corner to start adjusting—by then it's too late.
Common Mistakes & Fixes
| Mistake | Why It Happens | Fix |
|---|---|---|
| Speed loss through S-curves | Treating turns independently, making extra corrections between them | Practice the single flowing line: left-clip, cross, right-clip |
| Uncontrolled launch off crest | Hitting the elevation change at full speed without preparation | Either lift throttle (safe) or commit to the launch with immediate pitch control |
| Late landing on jump | Overshooting the steep portion of the landing slope | Start nose-down pitch earlier; aim for the first third of the landing surface |
| Final corner crash | Mental relaxation after a good jump landing | Remind yourself: "The track ends at the finish line, not at the landing" |
Speed Progression Milestones
| Level | Target Time | What It Means |
|---|---|---|
| 🟢 First Completion | 25-40 seconds | You can navigate connected turns and a real jump |
| 🟡 Beginner | 18-25 seconds | Racing line is forming; landings are mostly flat |
| 🟠 Intermediate | 12-18 seconds | Smooth S-curve flow; consistent jump execution |
| 🔴 Advanced | 9-12 seconds | Optimal crest usage; landing early on the slope |
| 🏆 World Record Tier | <9 seconds | Every sector frame-perfect; no speed wasted anywhere |
Practice Drills
Drill 1: S-Curve Flow Restart the track 20 times. Your only goal: exit the opening S-curves without touching a single wall. Once you can do this every time, you'll notice your times drop by 2-3 seconds with no other changes.
Drill 2: Jump Consistency Set a target: land flat on the jump 5 times in a row. If you fail, restart the count. This builds the muscle memory for pitch control that transfers to every other track.
Drill 3: Full-Commitment Run Complete the entire track without lifting off the throttle. You'll crash more, but you'll discover which sections actually require braking and which ones you've been braking out of fear.
Frequently Asked Questions
Why do I bleed so much speed through the S-curves? You're almost certainly treating each turn as a separate event and adding little corrections between them. Summer 2's S-section is one flowing line — clip the left, cross the middle, clip the right — driven as a single continuous arc. Smooth beats busy.
Should I lift off before the crest, or send it? Both work; pick based on confidence. Lifting the throttle into the elevation change is the safe option that keeps you grounded and controllable. Committing to the launch is faster but only if you apply pitch control immediately — otherwise you'll overshoot the landing.
My jump landing keeps overshooting. What's the fix? Start your nose-down pitch earlier and aim for the first third of the landing slope rather than the steep back end. Landing into the matching part of the slope preserves your speed; landing flat or long scrubs it.
I clear the jump and then crash the final corner — why? Mental relaxation. A clean landing feels like the hard part is over, so focus drops right when the last corner needs it. Remind yourself the track ends at the finish line, not at the landing, and treat the final corner as seriously as the first.
Is Summer 2 where most beginners get stuck? It's the first track that genuinely punishes sloppy cornering and bad air control, so yes — it's a common wall. The cornering instincts you build here carry through every harder track, so the time invested pays off everywhere.
What's Next
- Summer 1 Speedrun Guide — Revisit the fundamentals
- Summer 3 Speedrun Guide — The serious jump challenge
- Drift Techniques Guide — You'll need these soon
- Browse Community Tracks — Find practice tracks filtered by skill