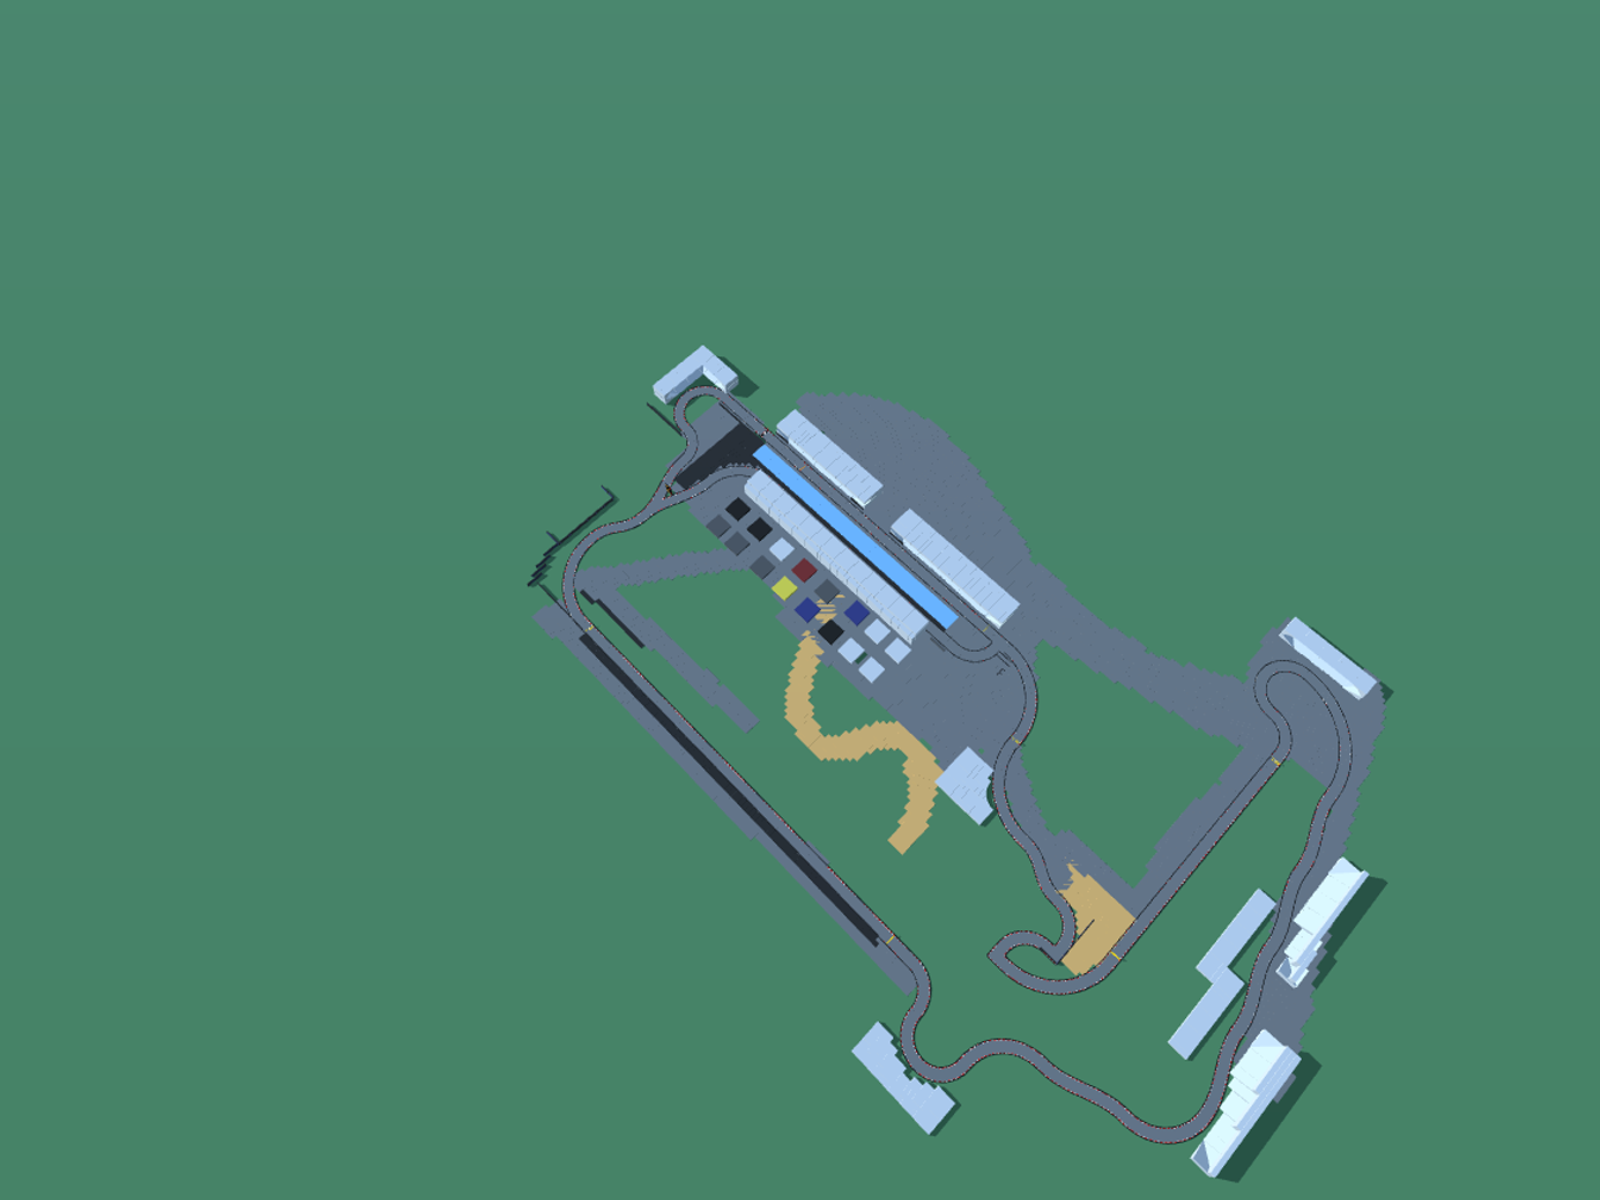
PolyTrack Summer 1 Speedrun Guide: The Tutorial Track Mastered
Summer 1 is where every PolyTrack career begins. It's short. It's forgiving. And most players never think about it again after their first completion. That's a mistake.
This track is the purest test of fundamental technique in the game. No ice physics. No sandstorms. No absurd stunt sections. Just clean geometry that rewards clean driving. The world record sits under 5 seconds—a time that seems impossible until you understand the principles behind it. This guide breaks down exactly how the fastest players approach every meter of Summer 1.
Track Overview
| Property | Detail |
|---|---|
| Environment | Summer (grass, mild conditions) |
| Estimated Length | ~180 meters |
| Checkpoints | 2-3 |
| Key Features | Gentle curves, 1 moderate jump, smooth surfaces |
| Difficulty | Tutorial / Easy |
| WR Reference | ~4.7 seconds |
Summer 1 was designed to teach three things: acceleration, basic steering, and your first jump. But at competitive speeds, it becomes a masterclass in momentum preservation and landing optimization.

Sector-by-Sector Breakdown
Sector 1: The Start Straight and First Bend
Distance: Start line to the first curve (~60m)
The opening is pure acceleration. Hold W from the moment the timer starts. The car reaches near-maximum speed by the time you hit the first curve.
The curve itself is wide and gentle—a right-hander that can be taken at full throttle with the correct approach. The mistake most beginners make is turning too early and too hard, which scrubs speed against the inside wall.
Optimal line:
- Stay center-left on the starting straight.
- Begin turning right about 1-2 car lengths before the visible curve starts.
- Clip the inside apex at the midpoint of the bend.
- Let the car drift naturally toward the outside as the track straightens.
Speed target: You should exit this sector at 95%+ of your maximum speed. If you hear tires scraping a wall, your line is wrong.
Sector 2: The Jump
Distance: Post-curve to landing zone (~50m)
This is the defining feature of Summer 1 and where 90% of time is won or lost at competitive levels.
The approach ramp launches you into a short flight. The landing surface is a gentle downward slope—a gift from the track designer, because downward slopes preserve more speed than flat landings.
Optimal approach:
- Hit the ramp at full speed with your car perfectly straight (no residual turn input).
- The moment your wheels leave the ramp, begin a gentle nose-down pitch (tap W lightly).
- Your target: match the car's angle to the landing slope angle at the moment of contact.
- A perfect landing here preserves 95%+ of your entry speed and gives a subtle speed boost from the slope geometry.
What goes wrong:
- Too much pitch: Over-rotating nose-down causes a nose-first landing that kills speed. Use taps, not holds.
- Residual roll: If you were still turning slightly when you hit the ramp, the car will have a sideways tilt in the air. Correct roll before adjusting pitch.
- Late reaction: The flight time is short (under 1 second). Start your pitch adjustment immediately on takeoff—there's no time to wait and assess.
Sector 3: The Final Straight
Distance: Landing zone to finish (~70m)
After a clean landing, this sector is pure acceleration to the finish line. There are no obstacles, no turns—just a straight road.
The optimization here is invisible: it's entirely about how much speed you preserved through the jump. A perfect landing means you're already near top speed. A bad landing means you're accelerating from a lower base, and even full throttle can't recover the lost time over this short distance.
Pro tip: Don't lift off the throttle at any point. Even approaching the finish line, keep W held. Some players instinctively release the gas as they cross—this is a habit worth breaking, as timers measure to hundredths of a second.
Key Techniques for This Track
1. The Zero-Input Jump
The fastest runs on Summer 1 often use a technique where the ramp is hit with the car perfectly straight and the player makes minimal air inputs—sometimes just a single tap of W to set the pitch. The idea: the less you disturb the car's natural trajectory, the more predictable the landing. On a track this short, predictability beats optimization.
2. Pre-Steer Setup
The first curve determines everything. If you exit the curve 2% slower than optimal, that 2% deficit carries through the jump, the landing, and the final straight. Practice the first curve 50 times. Get the steering input timed to muscle memory. Then forget about it and focus on the jump.
3. Landing Into the Slope
Summer 1's landing ramp has a gentle downward angle. The physics engine converts your vertical falling speed into horizontal forward speed when you land into a matching slope. This is why world record runs seem to gain speed through the jump—they literally do, through geometric energy transfer.
Common Mistakes & Fixes
| Mistake | Why It Happens | Fix |
|---|---|---|
| Wall scrape on first curve | Turning too early or too aggressively | Delay turn initiation by 1 car length; use gentler input |
| Nose-first landing | Holding W too long during flight | Tap W once immediately after takeoff, then release |
| Car lands tilted | Residual steering input at ramp edge | Ensure steering is neutral (no A/D input) before hitting the ramp |
| Slow final straight | Speed lost during a bad landing | Focus exclusively on landing quality; time will follow |
Speed Progression Milestones
| Level | Target Time | What It Means |
|---|---|---|
| 🟢 First Completion | 15-25 seconds | You finished! Everything else is optimization |
| 🟡 Beginner | 10-15 seconds | You understand basic acceleration and turning |
| 🟠 Intermediate | 7-10 seconds | Your racing line is clean; landings are usually flat |
| 🔴 Advanced | 5-7 seconds | Jump technique is consistent; minimal speed loss |
| 🏆 World Record Tier | <5 seconds | Frame-perfect inputs, optimal geometry exploitation |
Practice Drills
Drill 1: The Landing Grind Play Summer 1 on repeat. Ignore the first curve entirely—your only goal is to land the jump perfectly 10 times in a row. Once you can do that, the rest of the track will fall into place.
Drill 2: Ghost Chasing Load a ghost replay from the leaderboard (someone 1-2 seconds faster than your best). Don't try to beat them—try to match their line through the first curve. Note exactly where they start turning and where their car is positioned at the apex.
Drill 3: No-Reset Run Complete 10 consecutive runs without pressing R. This forces you to drive through mistakes instead of restarting, building the recovery skills you'll need on harder tracks.
Frequently Asked Questions
What's a good Summer 1 time for a beginner? If you can finish at all, you have already cleared the hardest step. From there, anything under 10 seconds means your line and acceleration are solid, and under 7 seconds means your jump landing is consistent. The sub-5-second world-record tier requires near-perfect inputs — useful as a north star, not a starting expectation.
Is it actually worth practicing the tutorial track? Yes — that is the whole point of this guide. Summer 1 has no ice, sand, or stunt gimmicks, so it isolates the three fundamentals (racing line, landing, momentum) that every later track stacks on top of. Time spent here pays off everywhere else.
Why do the fastest runs look like they speed up over the jump? They genuinely do. Summer 1's landing ramp angles downward, and the physics engine converts your vertical drop into forward speed when you land into a matching slope. That is geometry, not an exploit — landing flat on that ramp simply wastes the free speed.
Keyboard or arrow keys — does it matter here? No. The inputs are mirrored and the physics are identical. Pick whichever lets you make small, smooth steering corrections through the first curve. The Controls Cheatsheet lists the full mapping.
My time is stuck. What's the single biggest fix? Almost always the jump landing. A nose-first or tilted landing on Summer 1 bleeds more time than a slightly wide first curve. Run Drill 1 above and treat the curve as secondary until the landing is automatic.
Next Steps
Summer 1 teaches fundamentals. Once your time is consistently under 7 seconds, move to:
- Summer 2 Speedrun Guide — Introduces multi-turn sequences
- Summer 3 Speedrun Guide — The first serious jump challenge
- Air Control Masterclass — Deep dive into everything airborne
Browse our full track library for community tracks that drill specific skills.