PolyTrack Summer 3 Speedrun Guide: Where Speed Meets Precision
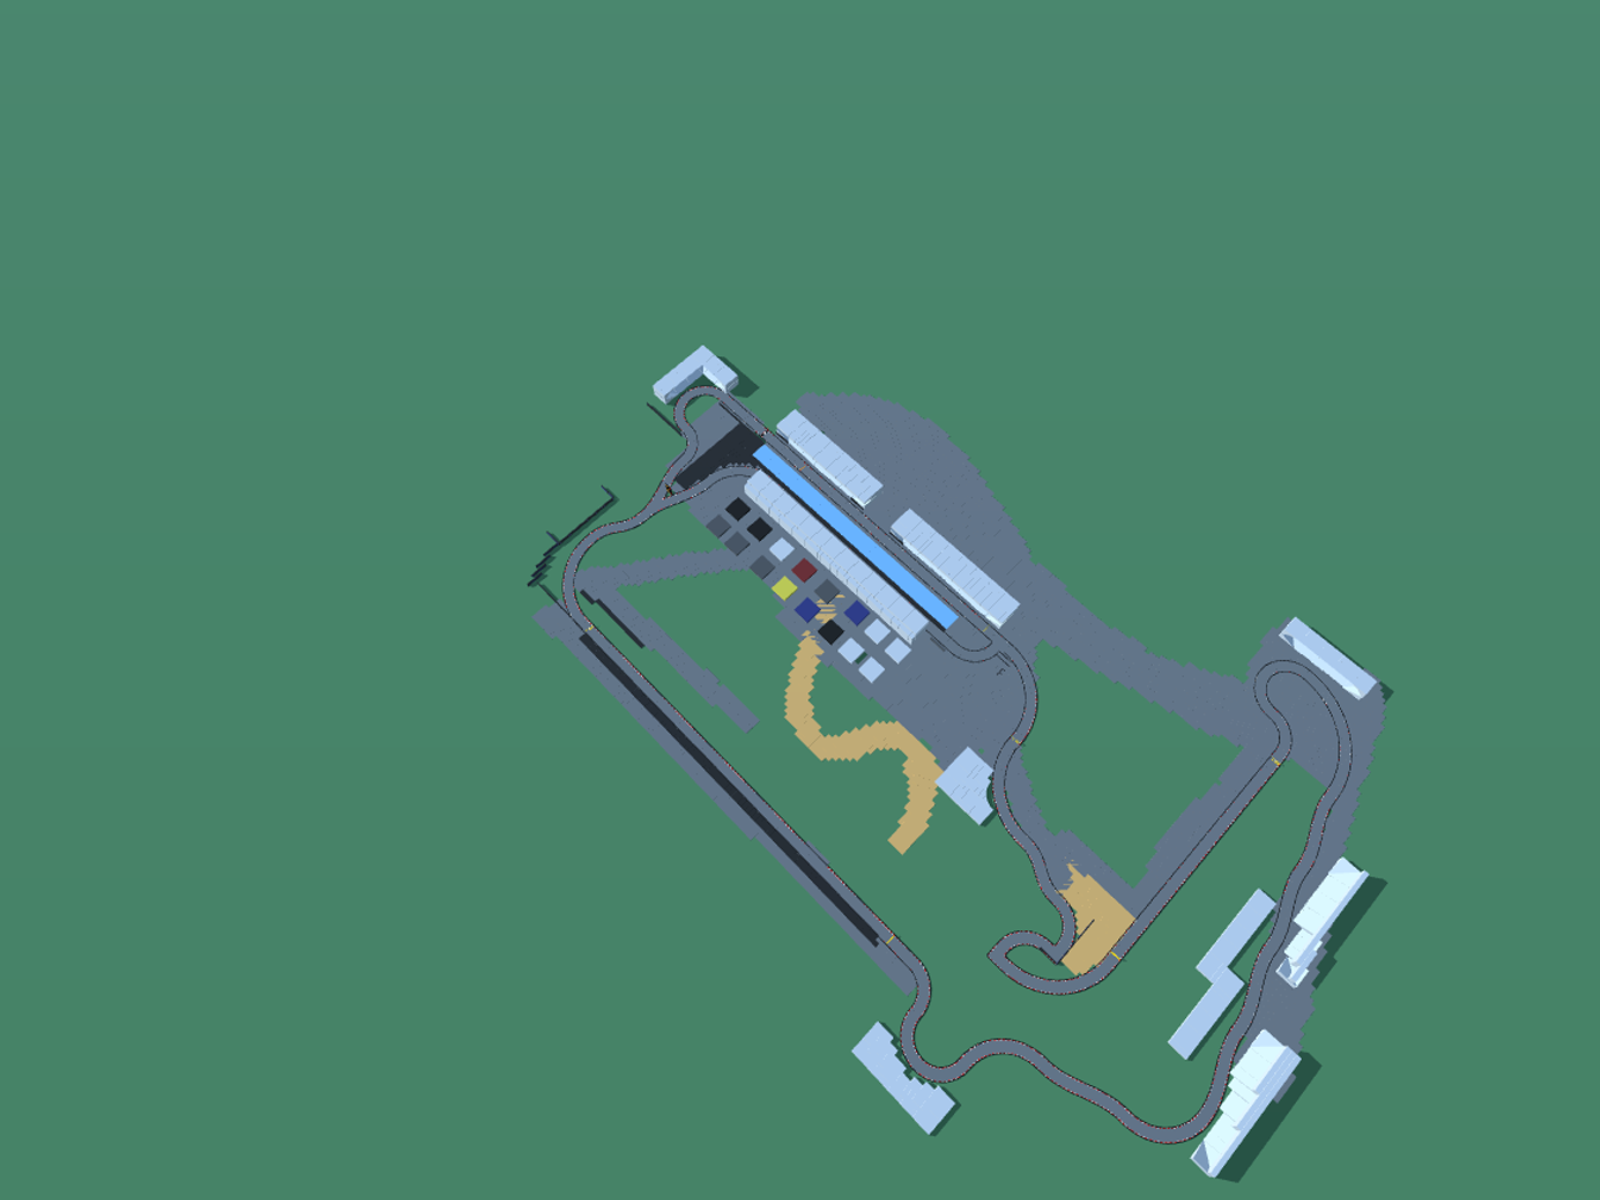
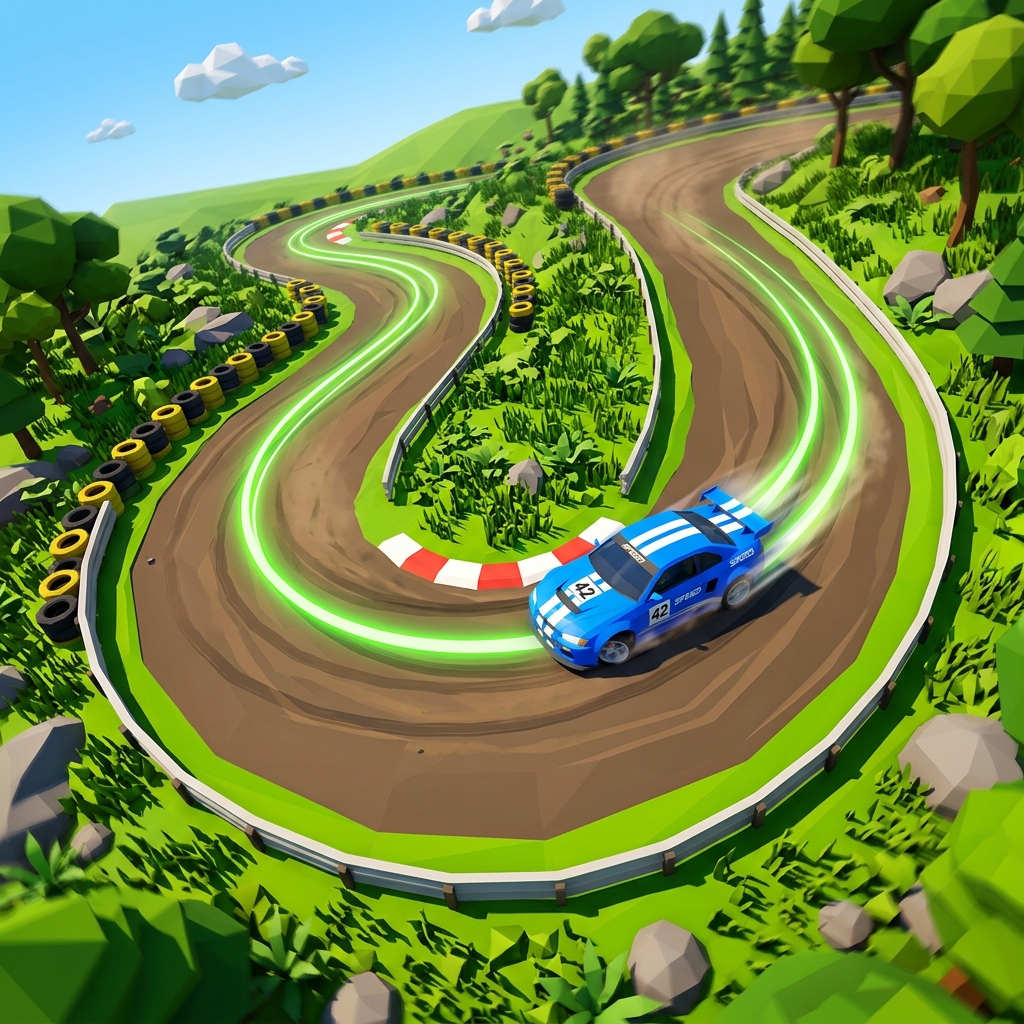
Summer 3 is the track where PolyTrack stops being gentle. Everything you learned on Summer 1 and 2 gets tested here—simultaneously. Connected turns at speed, elevation changes that feed into jumps, and a layout that punishes even small mistakes with cascading time losses across multiple sectors.
If you can run Summer 3 cleanly, you have the foundational skills to compete on any track in the game. This guide breaks down every sector and the techniques that separate casual completion from genuine speed.
Track Overview
| Property | Detail |
|---|---|
| Environment | Summer (grass, clear conditions) |
| Estimated Length | ~450 meters |
| Checkpoints | 4-5 |
| Key Features | Multi-turn sequences, significant elevation, 2+ jumps, faster overall pace |
| Difficulty | Medium |
| WR Reference | ~12-16 seconds |
Summer 3 is roughly 2.5x the length of Summer 1. It introduces multiple jump sections and corners under elevation change (turning while going uphill or downhill). These compound challenges are the building blocks of every hard track in the game.
Sector-by-Sector Breakdown
Sector 1: The Fast Opening
The track launches with a longer acceleration zone than Summer 1 or 2, building significant speed before the first challenge arrives.
The first turn is deceptively wide. At lower speeds it feels easy. At competitive speed, the car wants to slide toward the outside wall because you're carrying far more momentum than on earlier tracks.
Optimal approach:
- Full throttle from the start—build maximum speed.
- Begin steering input 2-3 car lengths earlier than instinct suggests. At high speed, the car responds slower to steering.
- Aim for a wide entry, tight apex, wide exit. The classic racing line matters more here than on any previous track because the speed penalty for touching a wall is enormous.
Key insight: Summer 3 is the first track where early steering matters. On Summer 1 and 2, you can turn late and recover. Here, late steering means wall contact, which means 2+ seconds lost at the opening.
Sector 2: The Elevation Corner
This is Summer 3's signature challenge: a turn that happens while the track is simultaneously changing elevation.
Why it's hard: Your car's weight distribution shifts during elevation changes. Going uphill compresses the rear tires (more rear grip, less front grip). Going downhill does the opposite. This means the car's turning behavior changes mid-corner depending on the slope.
Approach for uphill turns:
- The car will tend to understeer (not turn enough). Compensate by initiating the turn slightly earlier.
- Don't brake—the uphill slope is already slowing you. Adding braking on top risks losing too much speed.
Approach for downhill turns:
- The car will tend to oversteer (turn too sharply). Be gentle with steering input.
- Speed increases naturally on downhill sections. If a turn is at the bottom of a descent, you'll be going faster than you expect.
Sector 3: The Multi-Jump Section
Summer 3 introduces a sequence of two jumps in relatively quick succession. The critical challenge: your landing from Jump 1 directly determines your approach angle for Jump 2.
Jump 1: Standard technique—match pitch to landing surface, land flat, preserve speed. But now there's an additional constraint: you need to land in a position that sets up a clean approach to Jump 2's ramp.
The transition between jumps: This section is typically 2-4 seconds long. In that time, you need to:
- Recover from Jump 1's landing (correct any residual roll or yaw).
- Steer toward the optimal approach line for Jump 2's ramp.
- Ensure the car is perfectly straight before hitting Jump 2.
Jump 2: Often slightly different geometry than Jump 1. The landing surface may have a different angle, requiring you to adapt your pitch control from muscle memory. Don't assume "same technique" works—read the landing surface and adjust.
The connection principle: In speedrunning, multi-jump sections are optimized as a single unit, not as separate jumps. The exit of Jump 1 and the entry of Jump 2 are one continuous flow.
Sector 4: The Final Run
After the jumps, Summer 3 typically finishes with one or two final turns and a straight to the finish. Similar to Summer 2's final sector, the risk here is mental relaxation after surviving the jumps.
Competitive difference-maker: Top players attack the final turns with the same intensity as the opening. Many competitive margins on Summer 3 are decided in the last 3 seconds.
Key Techniques for This Track
1. Speed Carry Through Elevation
Summer 3 is the first track where maintaining speed through elevation changes becomes a core skill. The physics are straightforward: going uphill costs kinetic energy (you slow down); going downhill returns it (you speed up). The optimization is in how you steer during these transitions.
Rule: Never brake on an uphill section. The slope is already your brake. Save braking inputs for flat or downhill corners only.
2. Multi-Jump Rhythm
When jumps come in sequence, develop a mental rhythm: "Launch... adjust... land... recover... setup... launch... adjust... land." Each phase has a specific set of inputs. Practicing this rhythm until it's automatic frees your attention for reading track geometry.
3. Commitment Through Fear
Summer 3 has sections that feel too fast to take at full throttle. Some of them actually are. But many of them aren't—they just feel fast because the track is longer and the stakes are higher. Before braking, ask: "Will I crash if I don't brake, or am I just nervous?" If the answer is nervousness, keep the throttle down and learn the limit.
Common Mistakes & Fixes
| Mistake | Why It Happens | Fix |
|---|---|---|
| Over-braking on uphill turns | Instinct to slow for corners | The uphill slope is already braking for you—trust it |
| Bad Jump 2 approach | Not planning the connection between jumps | Treat the multi-jump as one section; optimize the transition |
| Speed loss in elevation curves | Fighting the car's natural weight shift | Adapt steering intensity to the slope direction |
| Relaxing in final sector | Mental exhaustion after jumps | Practice the final sector independently until it's automatic |
Speed Progression Milestones
| Level | Target Time | What It Means |
|---|---|---|
| 🟢 First Completion | 35-50 seconds | You can handle multi-sector tracks |
| 🟡 Beginner | 25-35 seconds | Basic racing lines through most sectors |
| 🟠 Intermediate | 18-25 seconds | Clean jumps, smooth elevation handling |
| 🔴 Advanced | 14-18 seconds | Multi-jump sequence is one fluid motion |
| 🏆 World Record Tier | <14 seconds | Every transition optimized; zero wasted frames |
Practice Drills
Drill 1: Elevation Cornering Play Summer 3 and focus exclusively on the elevation corner section (Sector 2). Your goal: pass through it without any wall contact for 10 consecutive runs. This builds the intuition for weight-shift steering.
Drill 2: Jump Chain Reset to the checkpoint before Jump 1. Practice the entire multi-jump sequence (Jump 1 → transition → Jump 2 → landing) 20 times. Track your landing quality on Jump 2—it should be flat or slightly nose-down, never tail-first.
Drill 3: The No-Brake Challenge Attempt the entire track without pressing S (brake) at any point. You'll crash—a lot. But you'll discover which sections genuinely require braking and which ones you've been braking out of habit.
Frequently Asked Questions
Summer 3 feels brutal after 1 and 2 — is that normal? Completely. Summer 3 is the graduation track: it tests connected cornering, elevation changes, and jumps all at once, and small mistakes cascade across sectors. If you can run it cleanly, you have the foundational skills to compete on essentially any track in the game.
Should I brake for the uphill turns? Usually not. The uphill slope is already scrubbing speed for you, so adding the brake over-slows the car and wastes the climb. Trust the gradient, stay on the throttle, and only brake if you're genuinely carrying too much speed.
How do I handle the back-to-back jumps? Stop thinking of them as two jumps. Treat the multi-jump as a single section and optimize the transition — your landing from the first jump is your setup for the second. Planning that connection is what separates a clean run from a reset.
Why do I lose control in the elevation curves? You're fighting the car's natural weight shift. As the slope changes, the grip balance shifts with it, so your steering intensity has to adapt to the slope direction rather than staying constant. Ease off when the car is light, lean in when it's planted.
Why do I fall apart in the final sector after a clean run? Mental exhaustion after the jump sequence. Practice the final sector on its own until it's automatic, so it survives even when your concentration is fading at the end of a long, demanding run.
What's Next
Summer 3 marks the end of "beginner" territory. The tracks ahead introduce ice physics (Winter), sand conditions (Desert), and track designs that demand every technique you've learned so far.
- Winter 1 Speedrun Guide — Your first encounter with ice
- Desert 1 Speedrun Guide — Sand, heat, and precision
- Air Control Masterclass — Level up your jump game
- Browse Community Tracks — Test your skills on player-created challenges